
DIY 'Taxidermy' Stuffed Animals
I've had a few questions about my faux taxidermy stuffed animals, so I thought I would resurface an old post on how to DIY your own quirky home decor. I saw this video from Karen Kavett on how to make ‘taxidermy’ stuffed animals a few years ago. I thought it was cute and funny, so I set about making it. I had seen these for sale when I was in Montana, but I hadn’t considered doing it myself until I saw the video. After some thinking, I decided that I wanted to make three little ones to take up more wall space. Because of this, the way I did it isn’t exactly how she did, so here’s how I made these cute little guys.
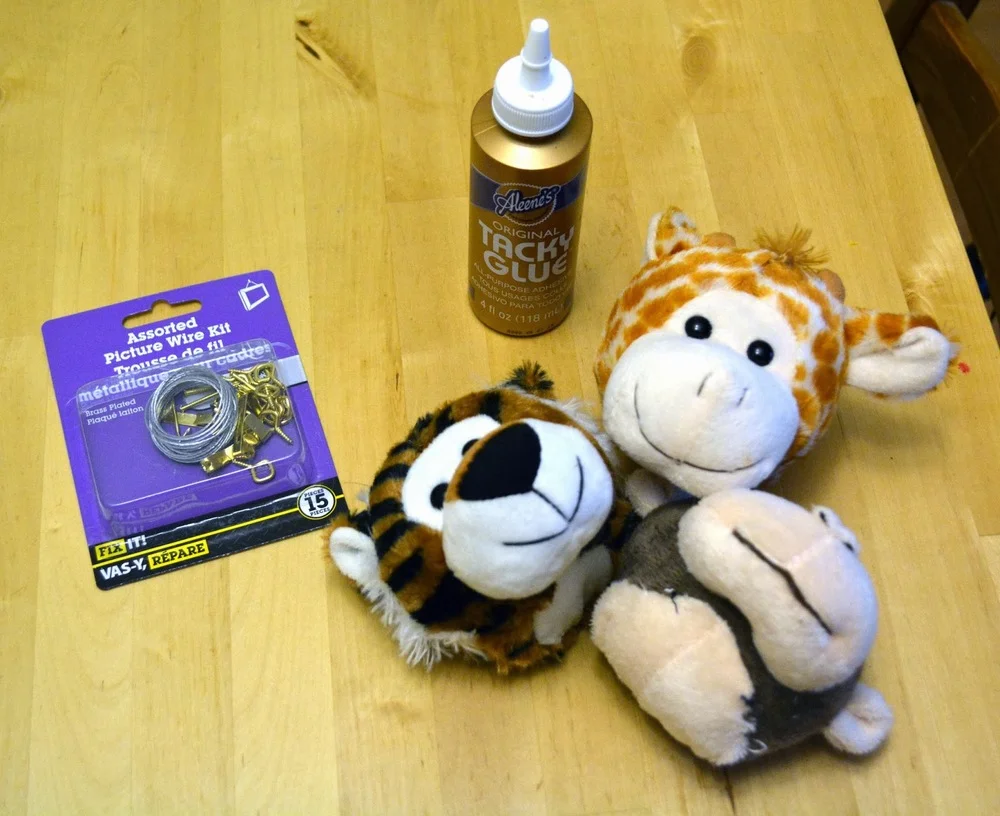
First, gather your materials. I bought all of these from my local Walmart.
- Wooden Plaque
- Sandpaper
- Wood Stain and Paintbrush
- One Animal for Each Plaque
- Needle and Thread
- Tacky Glue
- Picture Wire and Hooks
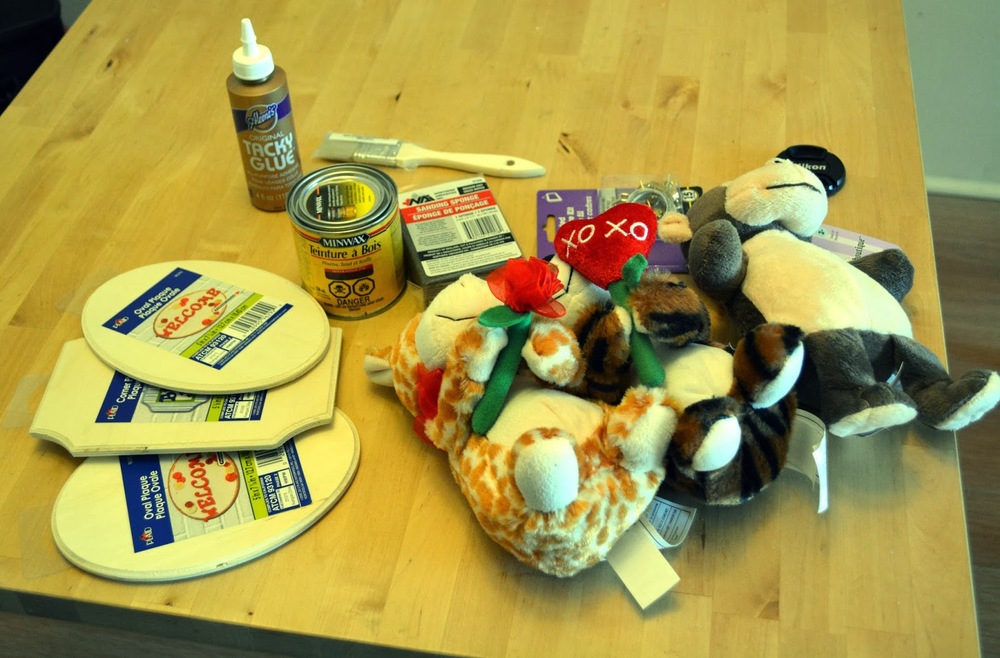
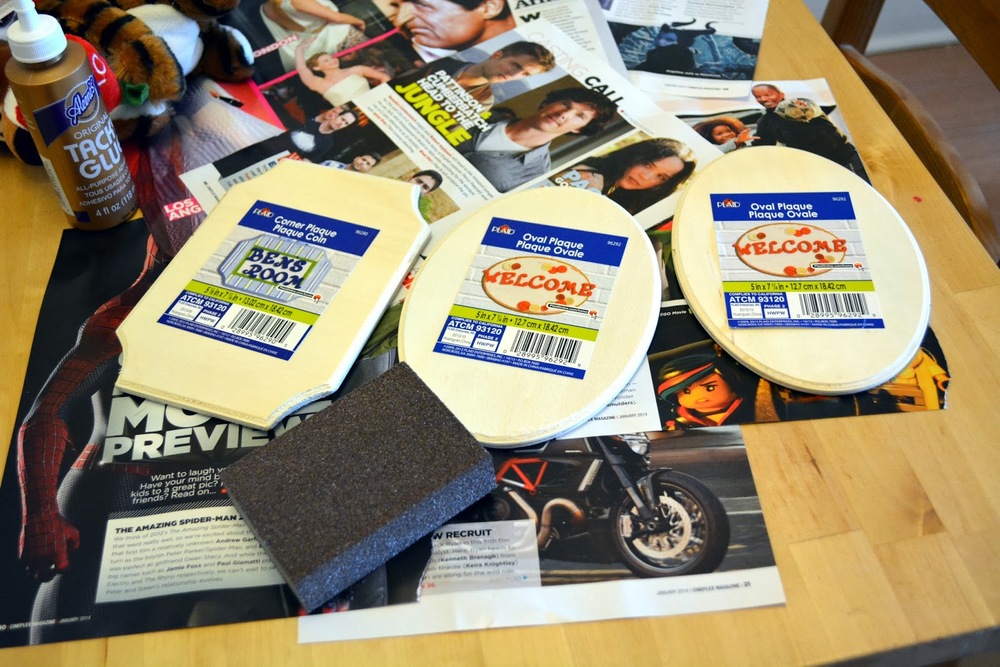
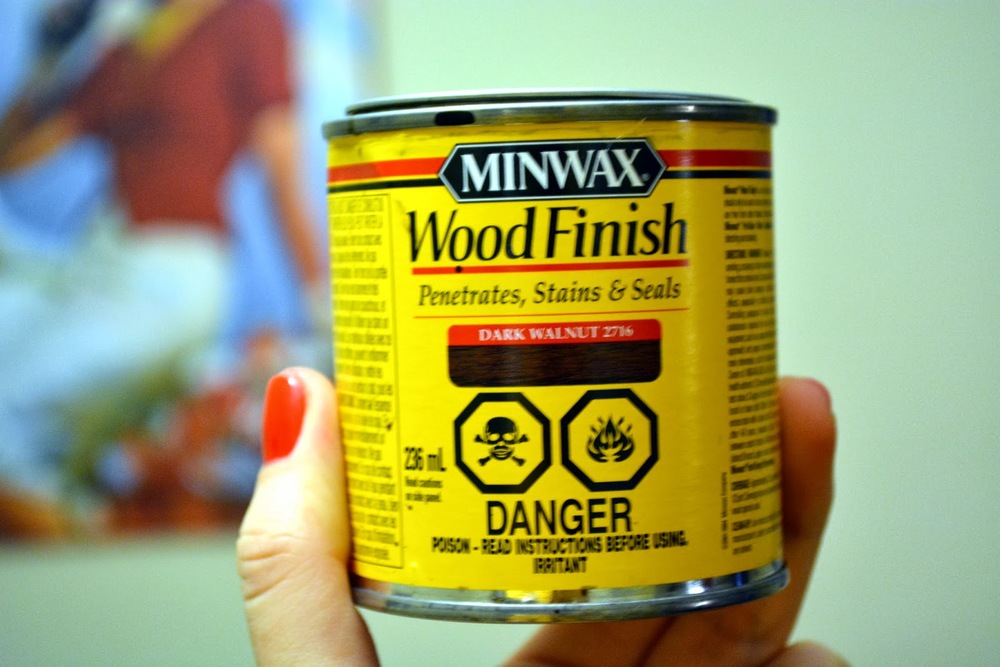
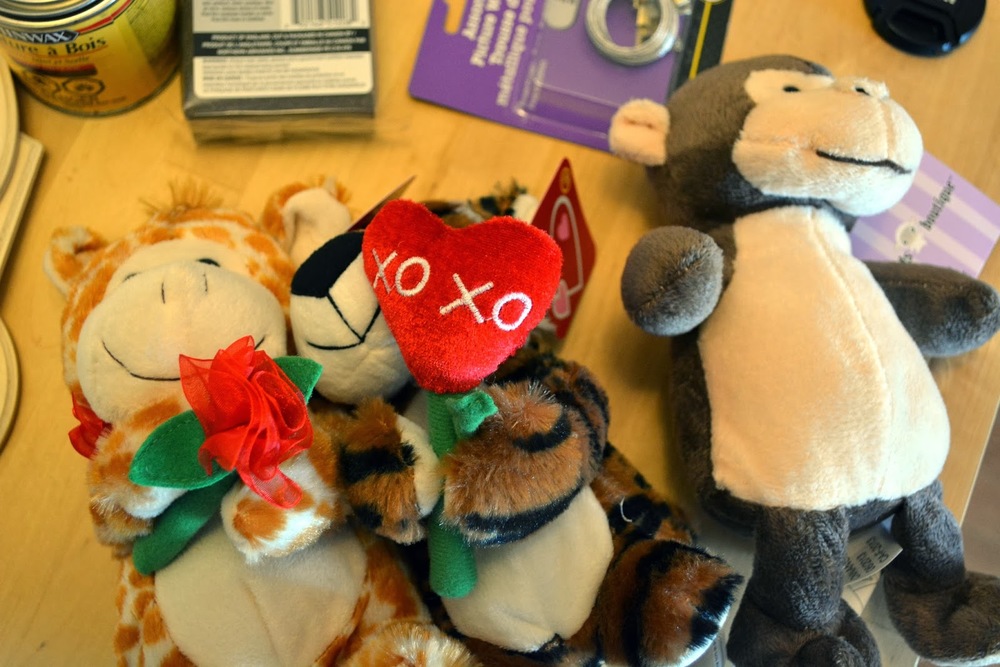
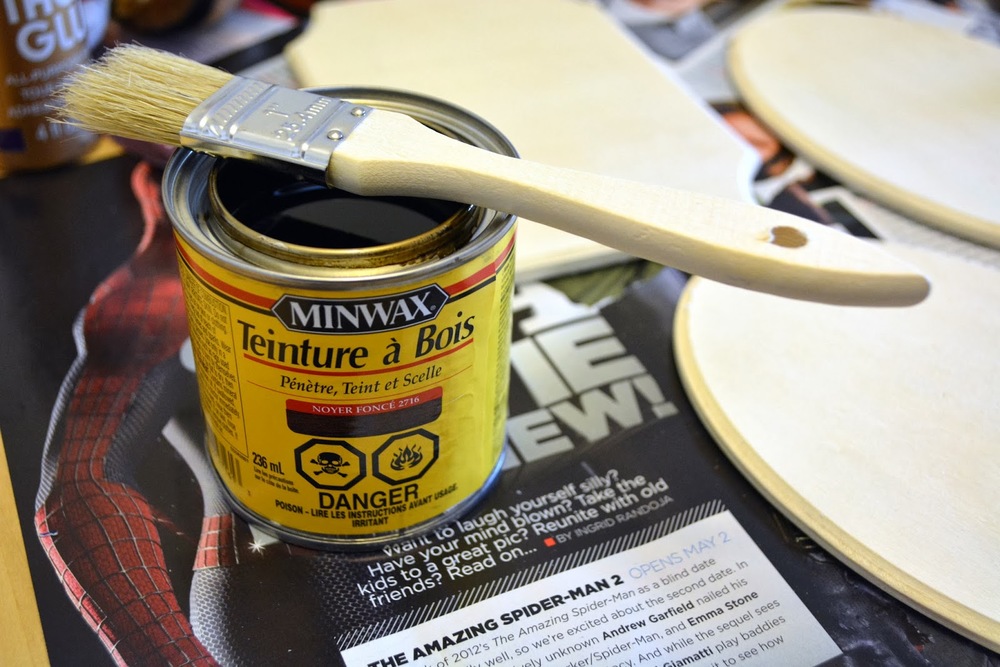
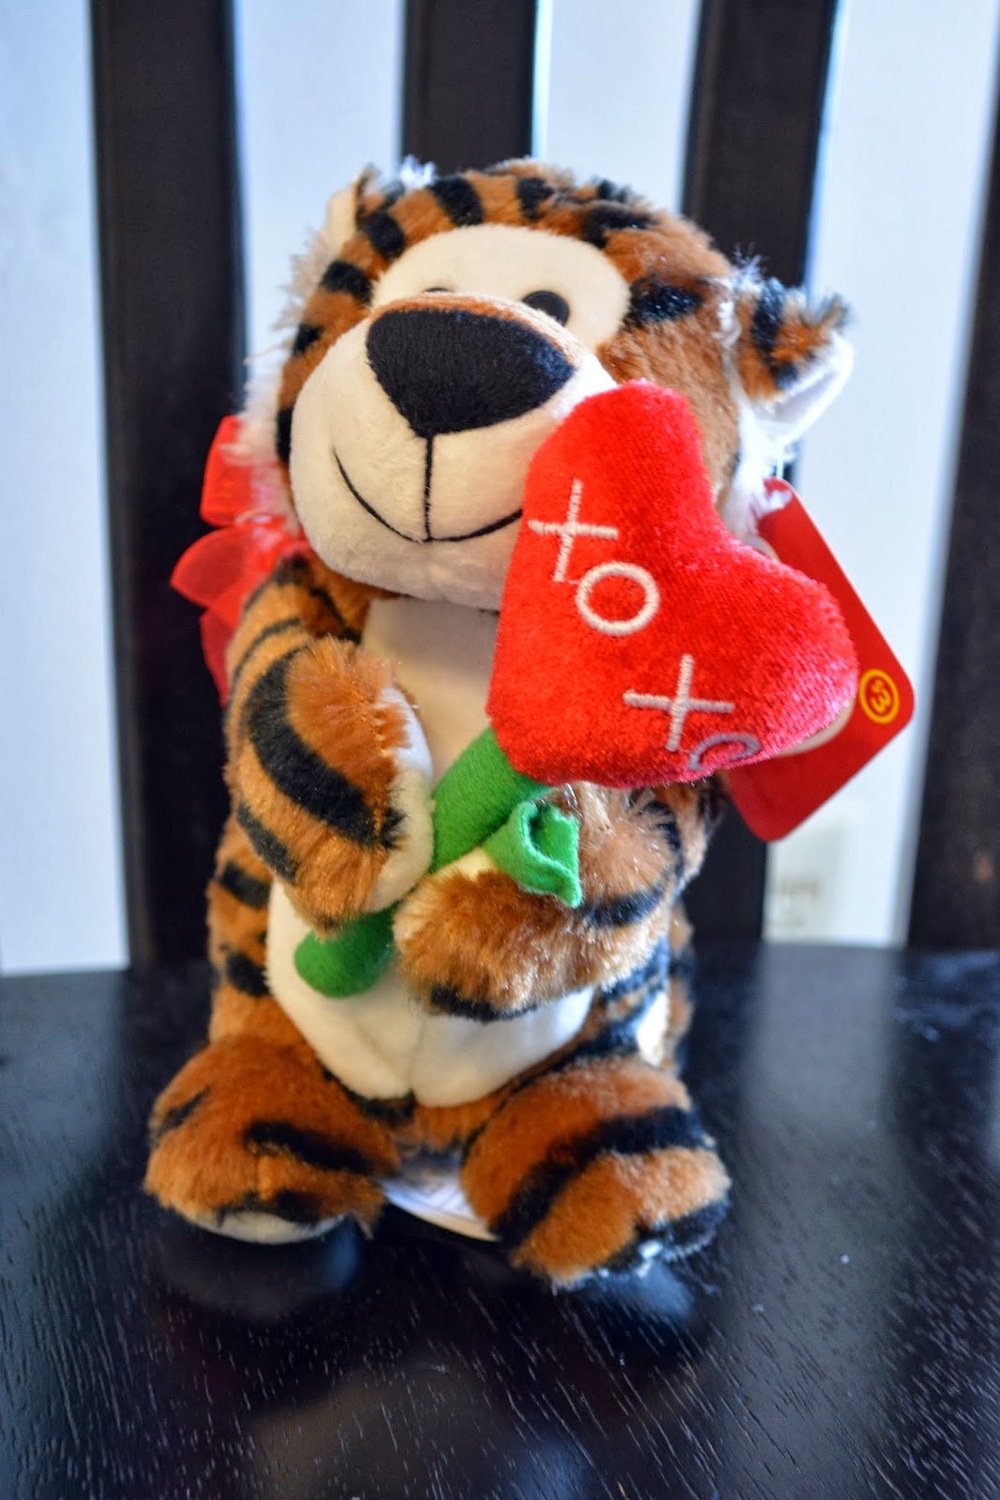
For my materials, I found three wooden plaques for 97 cents each. I picked a square-ish one, plus two ovals. I found a medium grit sanding sponge to use for the sanding. It worked great. For the stain, I chose Minwax wood stain in Dark Walnut. It matched the color of the desk I had at the time, and I used a cheap sponge paintbrush. The stuffed animals were easy too...I found three Valentine's Day clearance items. For an exotic group, I chose a giraffe, monkey, and tiger. Whatever you'd like would work here.
How To:
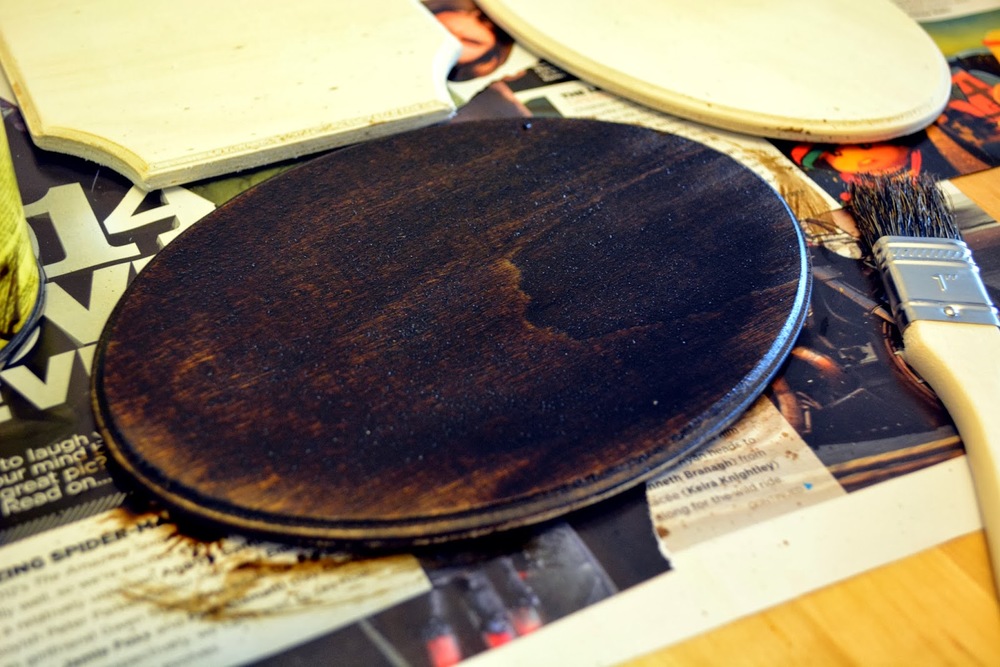
The first step is to sand down the plaques that you’re going to use. This will help the stain adhere better, as well as making the end product looked more finished. The next step is to stain the plaques whatever shade you wanted. I used two coats, and let them dry completely in between. If you’re not used to working with wood stain, I suggest wearing gloves because it can stain your fingers...I didn't do this and was scrubbing at my nails at the end of the day.

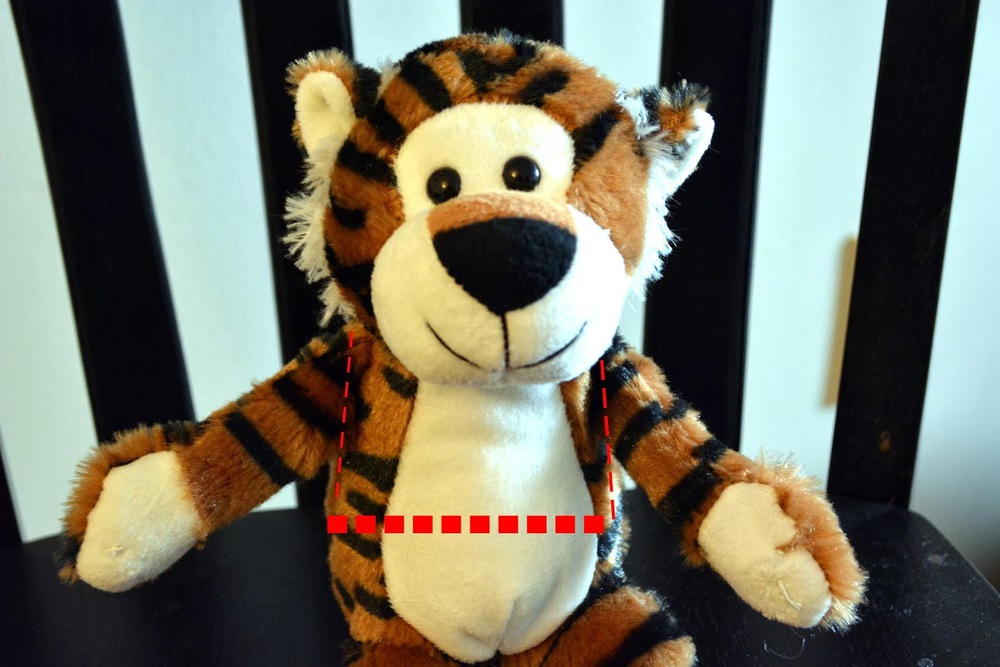
While the wood stain was drying, I got the heads ready to be stuck onto the plaques. First thing, I removed the extra valentine-y bits, like its bow and the heart. It was kind of cathartic, ruining all that was adorable and cute. Very symbolically dark.
Next, cut a slit down either side of the stuffed toy to open the seam and remove the arms. In the photo, I showed where I cut, based on the red lines. Part of this was trial and error. I cut straight across the stomach between the arm slits leaving that flap of material. I also cut straight across the back, but I ended up not needing that material. Still, better safe than sorry when cutting these guys up.
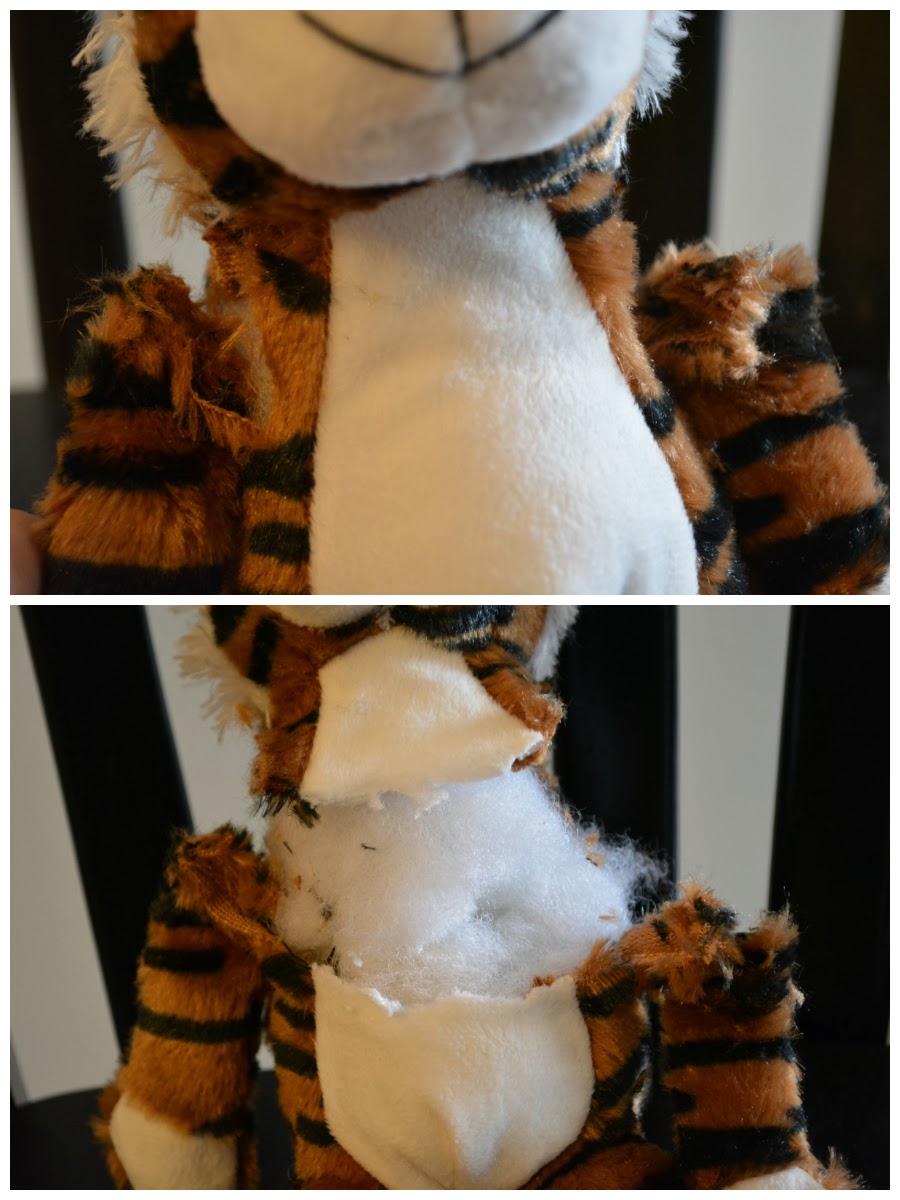
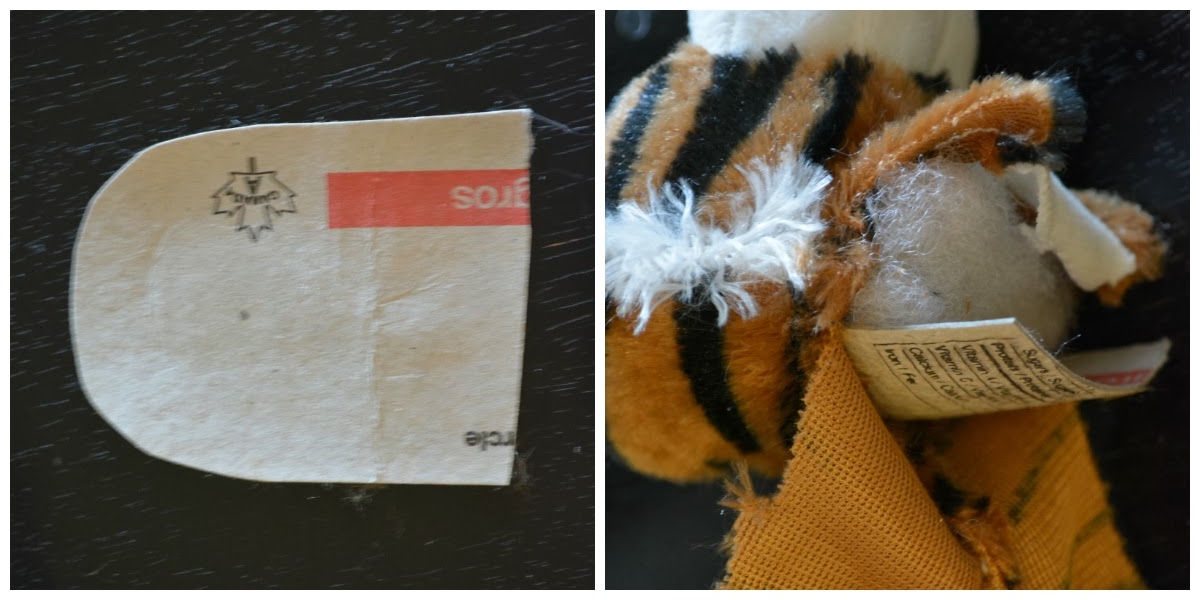
Because the back of the stuffed animals’ heads needed to be glued to the board, I stiffened them up by sliding a piece of cardboard into the head. I used the top of an egg carton, cut into a rounded rectangle to provide the firm surface to stick to the wooden board.
I used the stomach portion to sew up the bottom of the head to make it look like it was the critter’s neck. Nice and simple, sew up the hole so it looks nice.
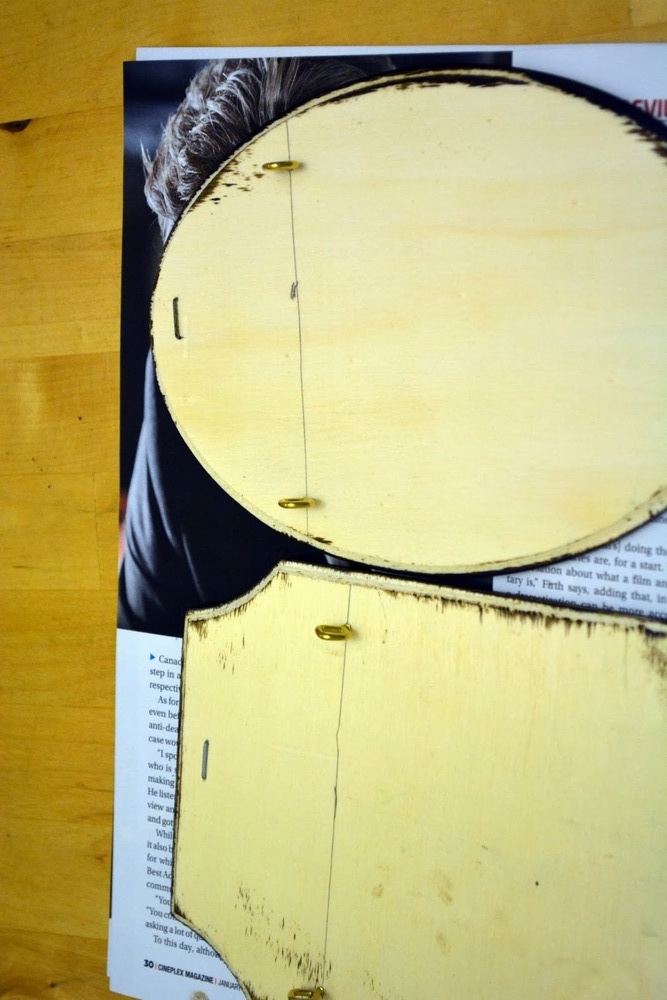
Once the plaques dried, I attached the picture attachment hardware. I attached two eye screws and then strung the picture wire between them for really idiot-proof hanging. Easy. Now that the boards and heads are ready, I put a dab of tacky glue onto the board, and then pushed the head onto it, firmly, before allowing it to dry.
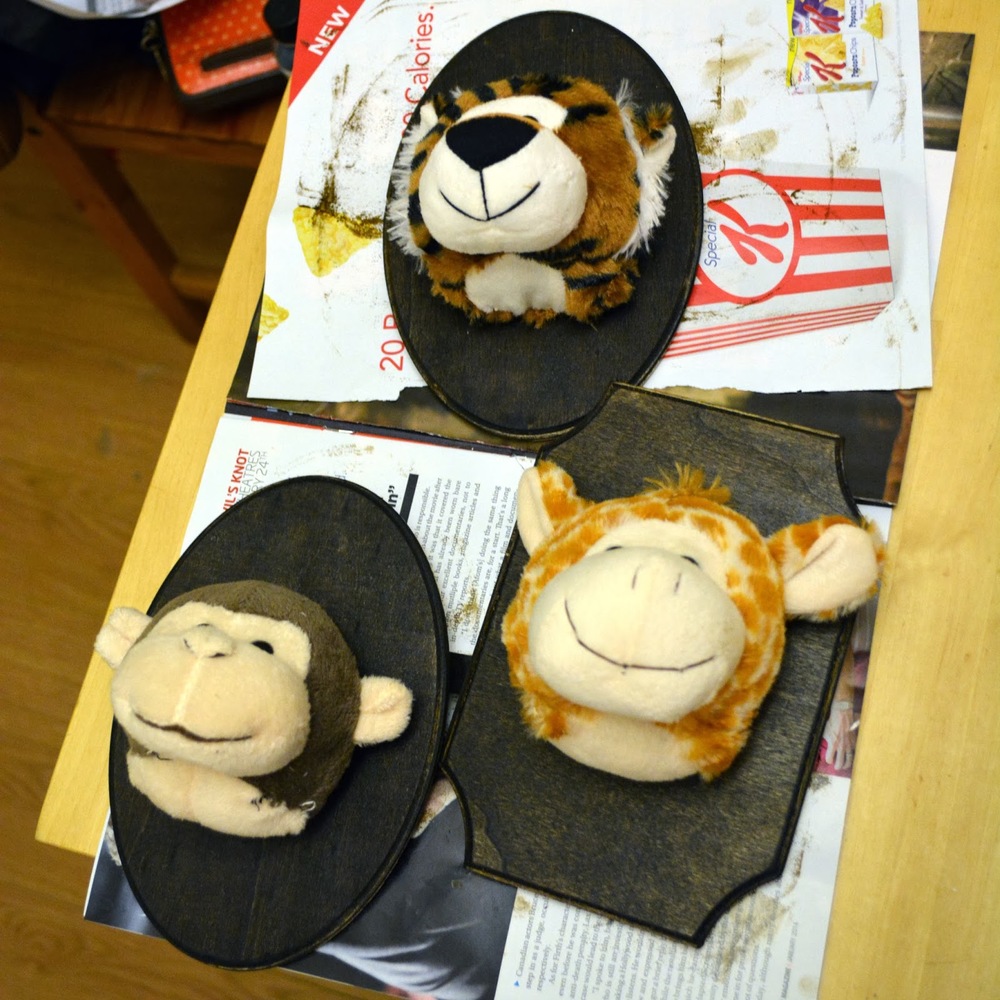
Boom. Done.
I think these are super cute, in kind of a weird way. They’re fun and unusual. I think it would be neat to play around with different animals, sizes, and stains. I will admit that it was really hard cutting the stuffed animal apart with its happy little smile. Ruining all that is fine and good in the world did hurt me. and just ruining it completely. I think it worked out though. It turned out much better than I thought it would be.
What do you think of these? Definitely let me know if you try this out! I’d like to see it.