
Russian Piping Tips Dos and Don'ts
In a past life, I used to help my mom decorate cakes -- she was a pastry chef then. I was approached a few weeks ago asking if I would try out some Russian Piping Tips. I was excited! These are supposed to be the fool-proof way to create beautiful buttercream flowers with very little practice or effort.

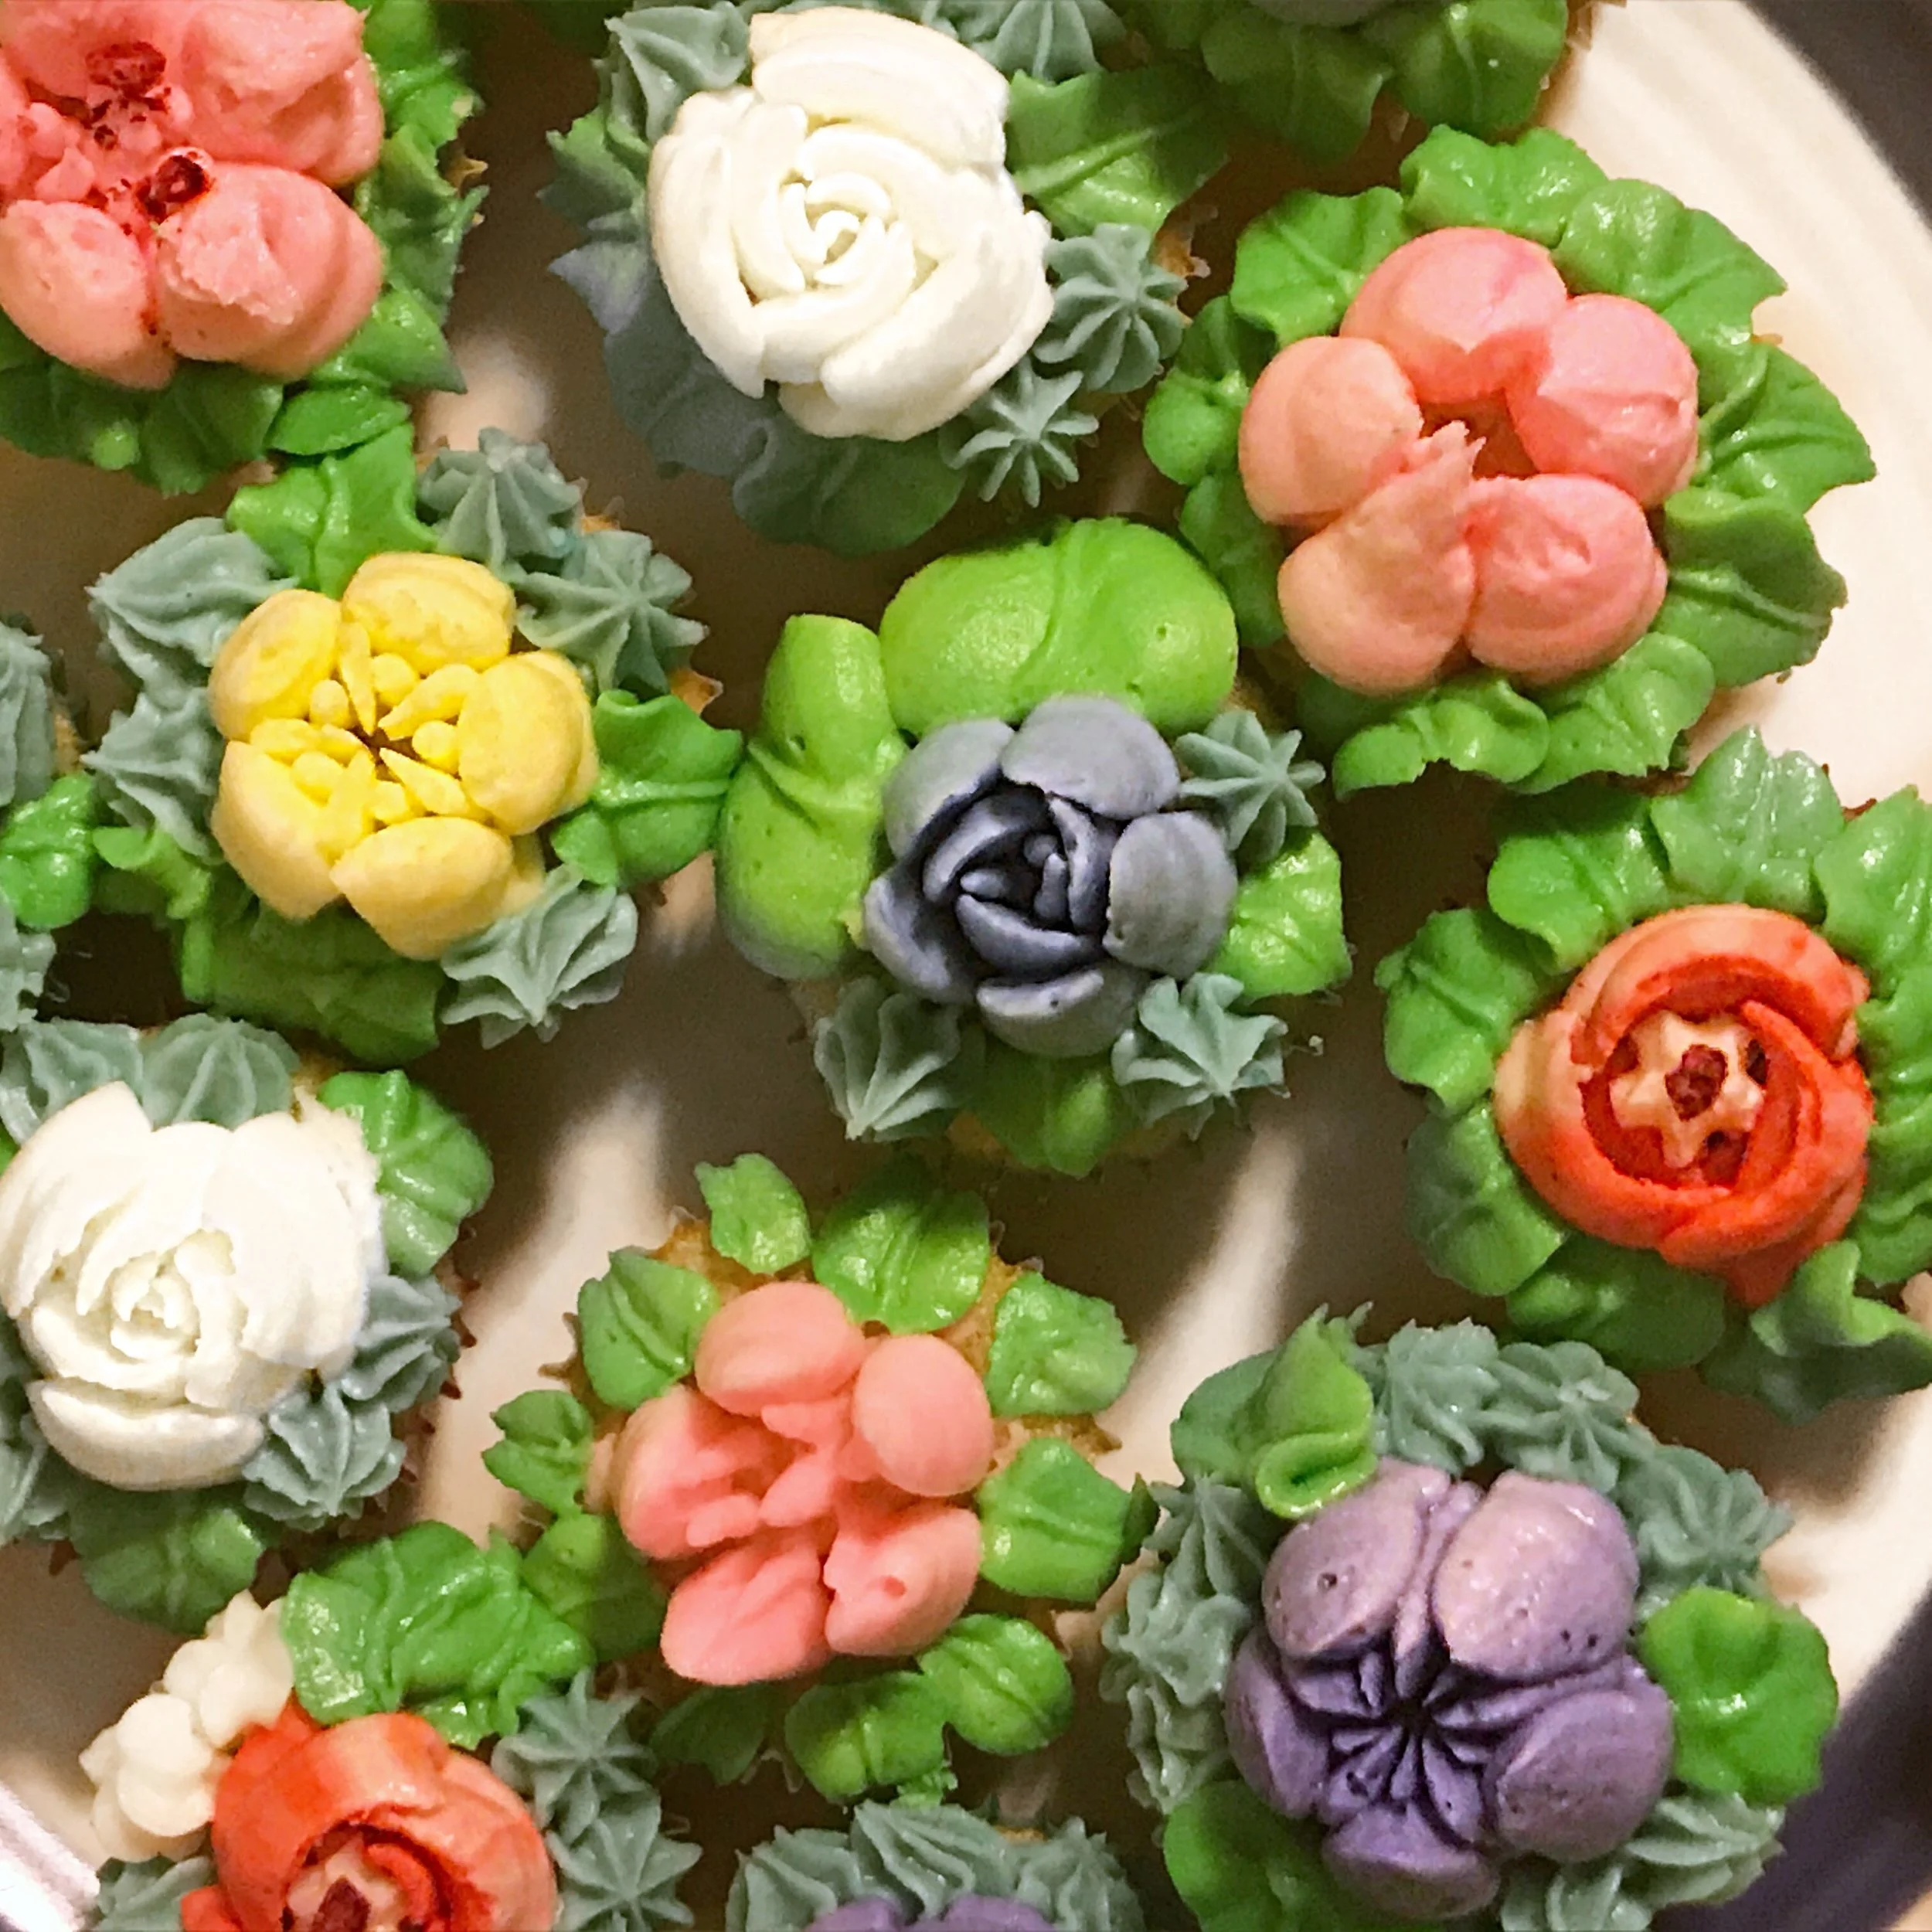
We spent the afternoon practicing with a set of delicious buttermilk cupcakes and a multitude of new tips. I would call it a roaring success. Look at how well they turned out! Again, on our first try! On our cupcake journey, I would say that we definitely learned the dos and don'ts pretty quickly. Here are a few tips to get you started on your own piping journey!

Do have your own disposable piping bags.
I really loved the piping tips that came in this kit, but the bags were not the most sturdy. I really preferred using the professional-grade kind that comes in a roll. You can get these pretty economically from Amazon or even Bed Bath & Beyond.

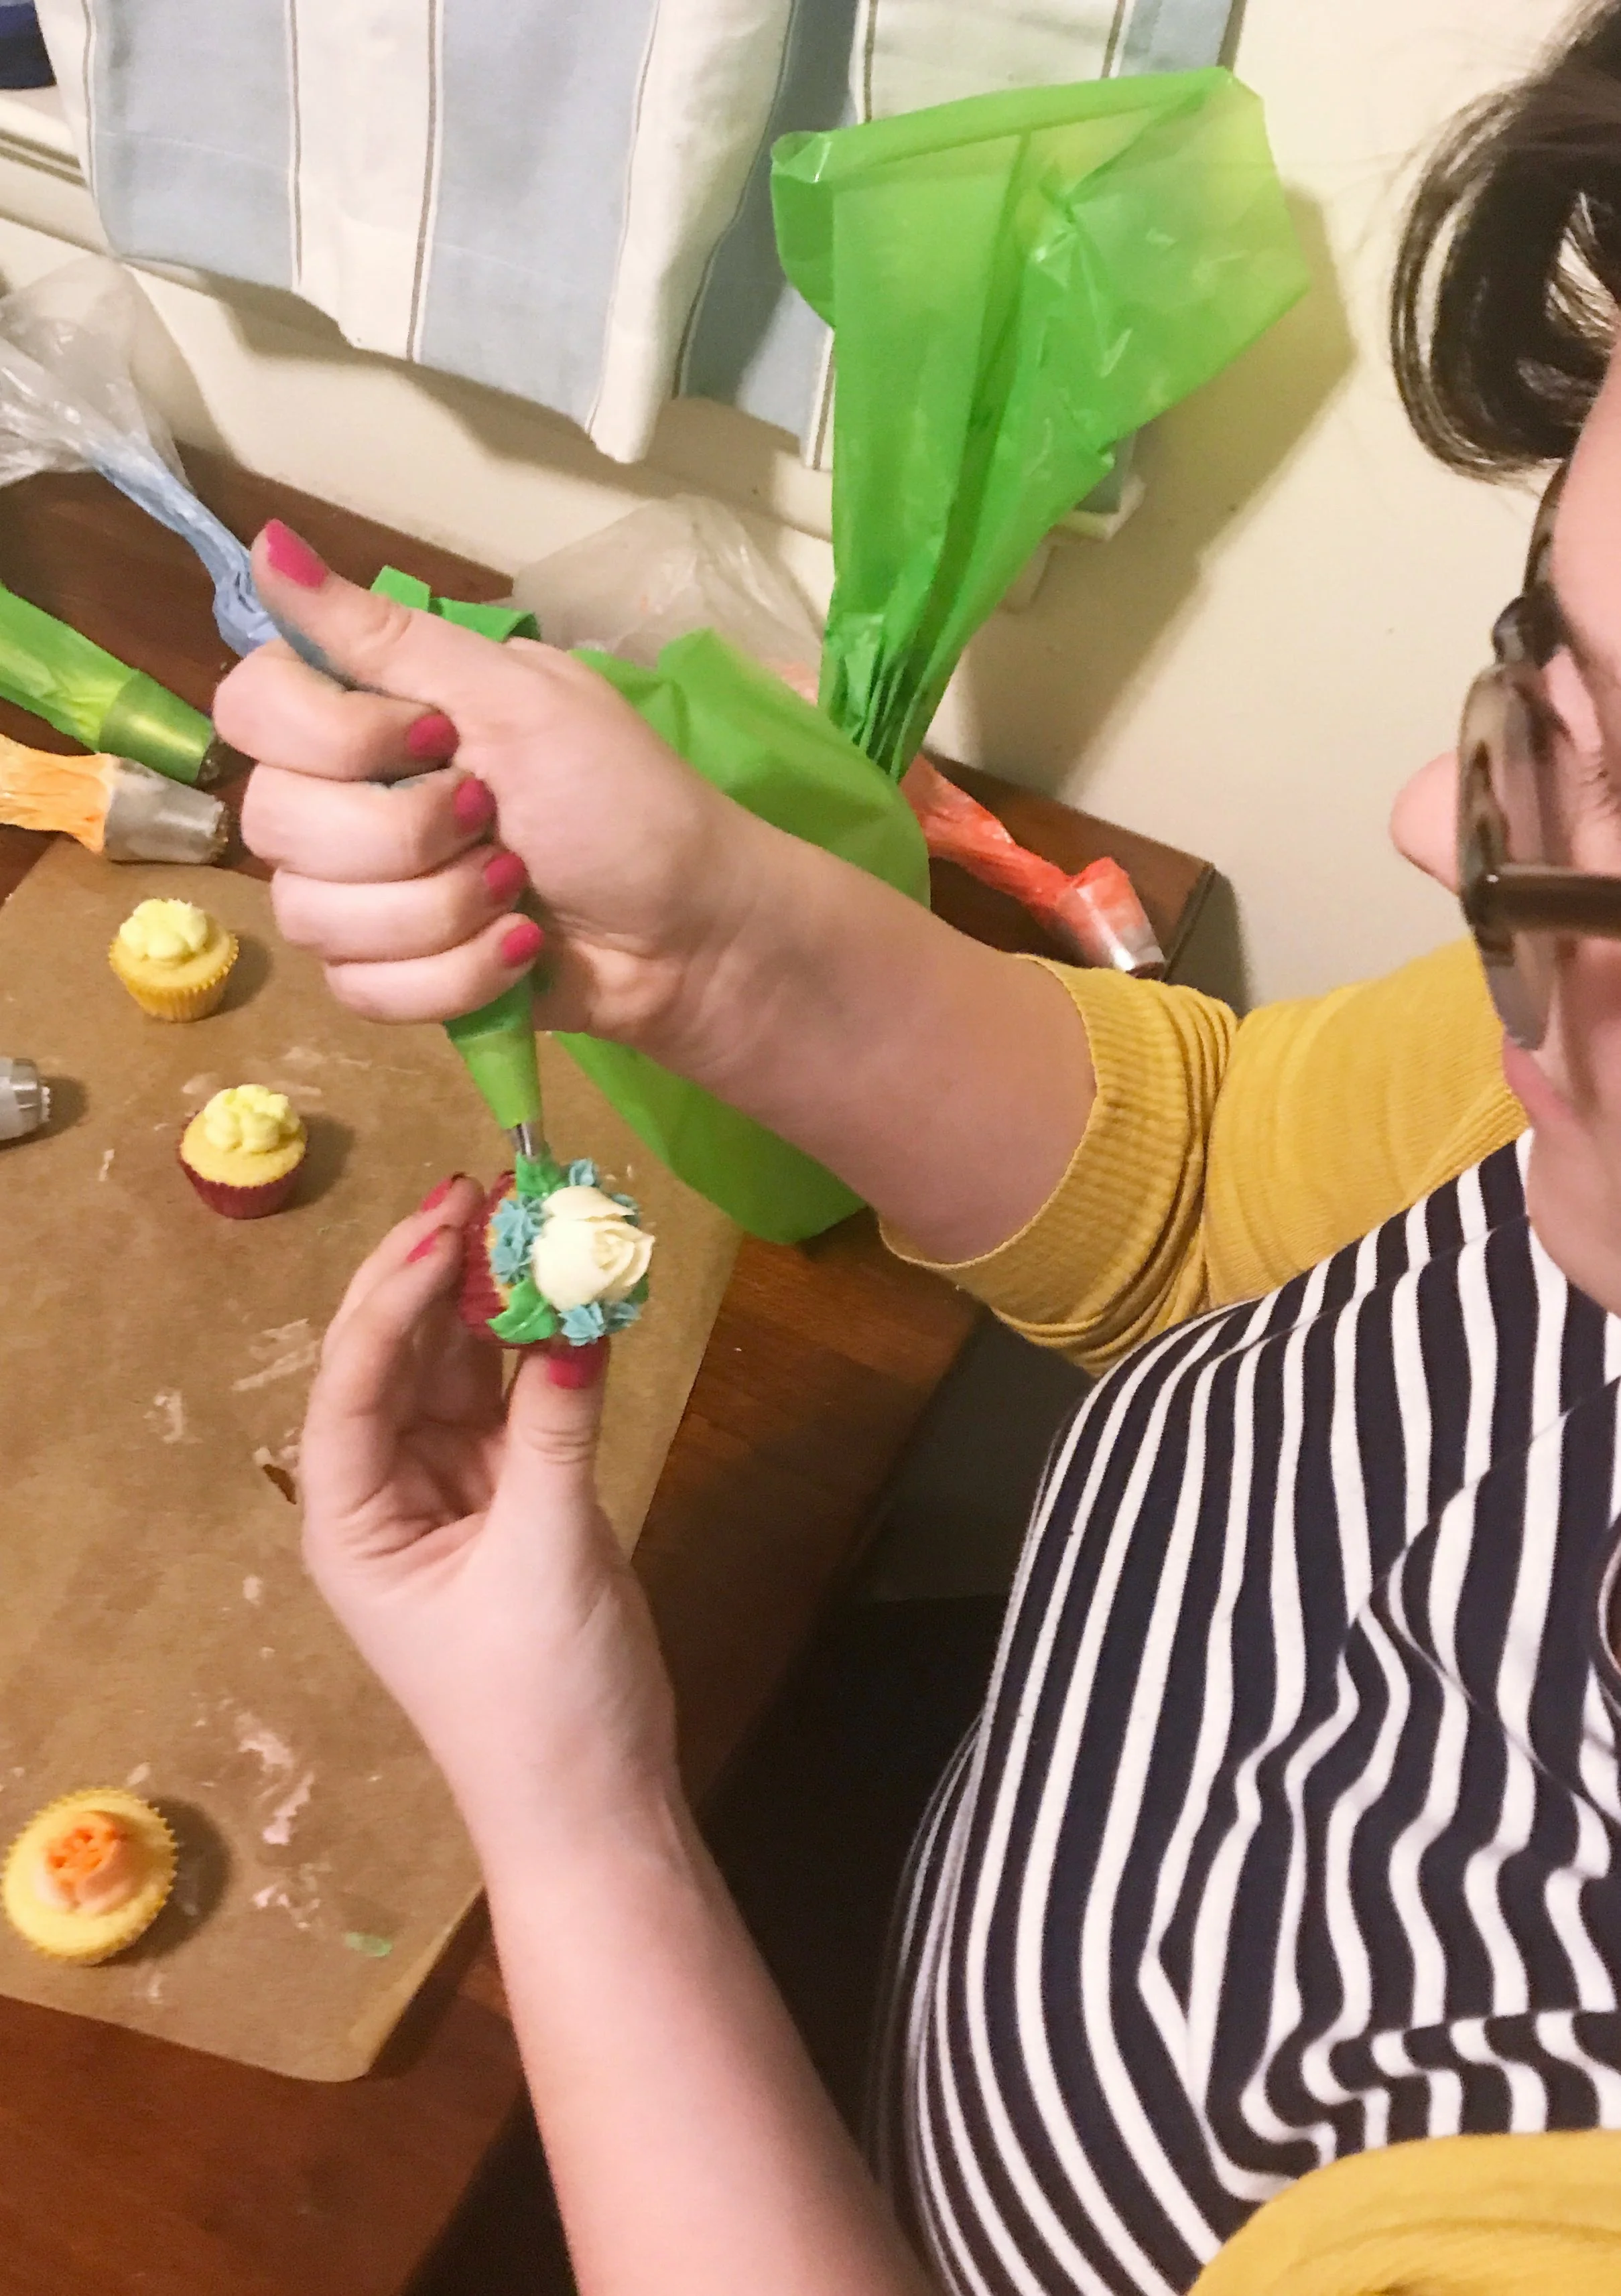
Don't pipe at an angle.
Unlike with traditional piping, where often piping at a slant is a good thing or a required thing, here, you want to be perpendicular to your surface. The straighter up-and-down that the tip is, the more uniform and defined each individual flower looks.
Do experiment with bright or contrasting colors.
The thing that I loved about these was that it was so simple to create a beautiful bouquet of contrasting flowers in minutes. I've seen some cute pictures on Instagram of monochrome Russian piped cakes, but I have to say that the bright, contrasting colors are my favorite, and they turn out so whimsical and fun.
Don't let the frosting get too warm.
The frosting temperature is very finicky when using these. It works best, I noticed, if it was on the stiffer side, but not too stiff or the frosting won't release from the tip. Take a break every so often to pop your frosting back in the fridge to let it harden up every few flowers.

Do practice on wax paper first.
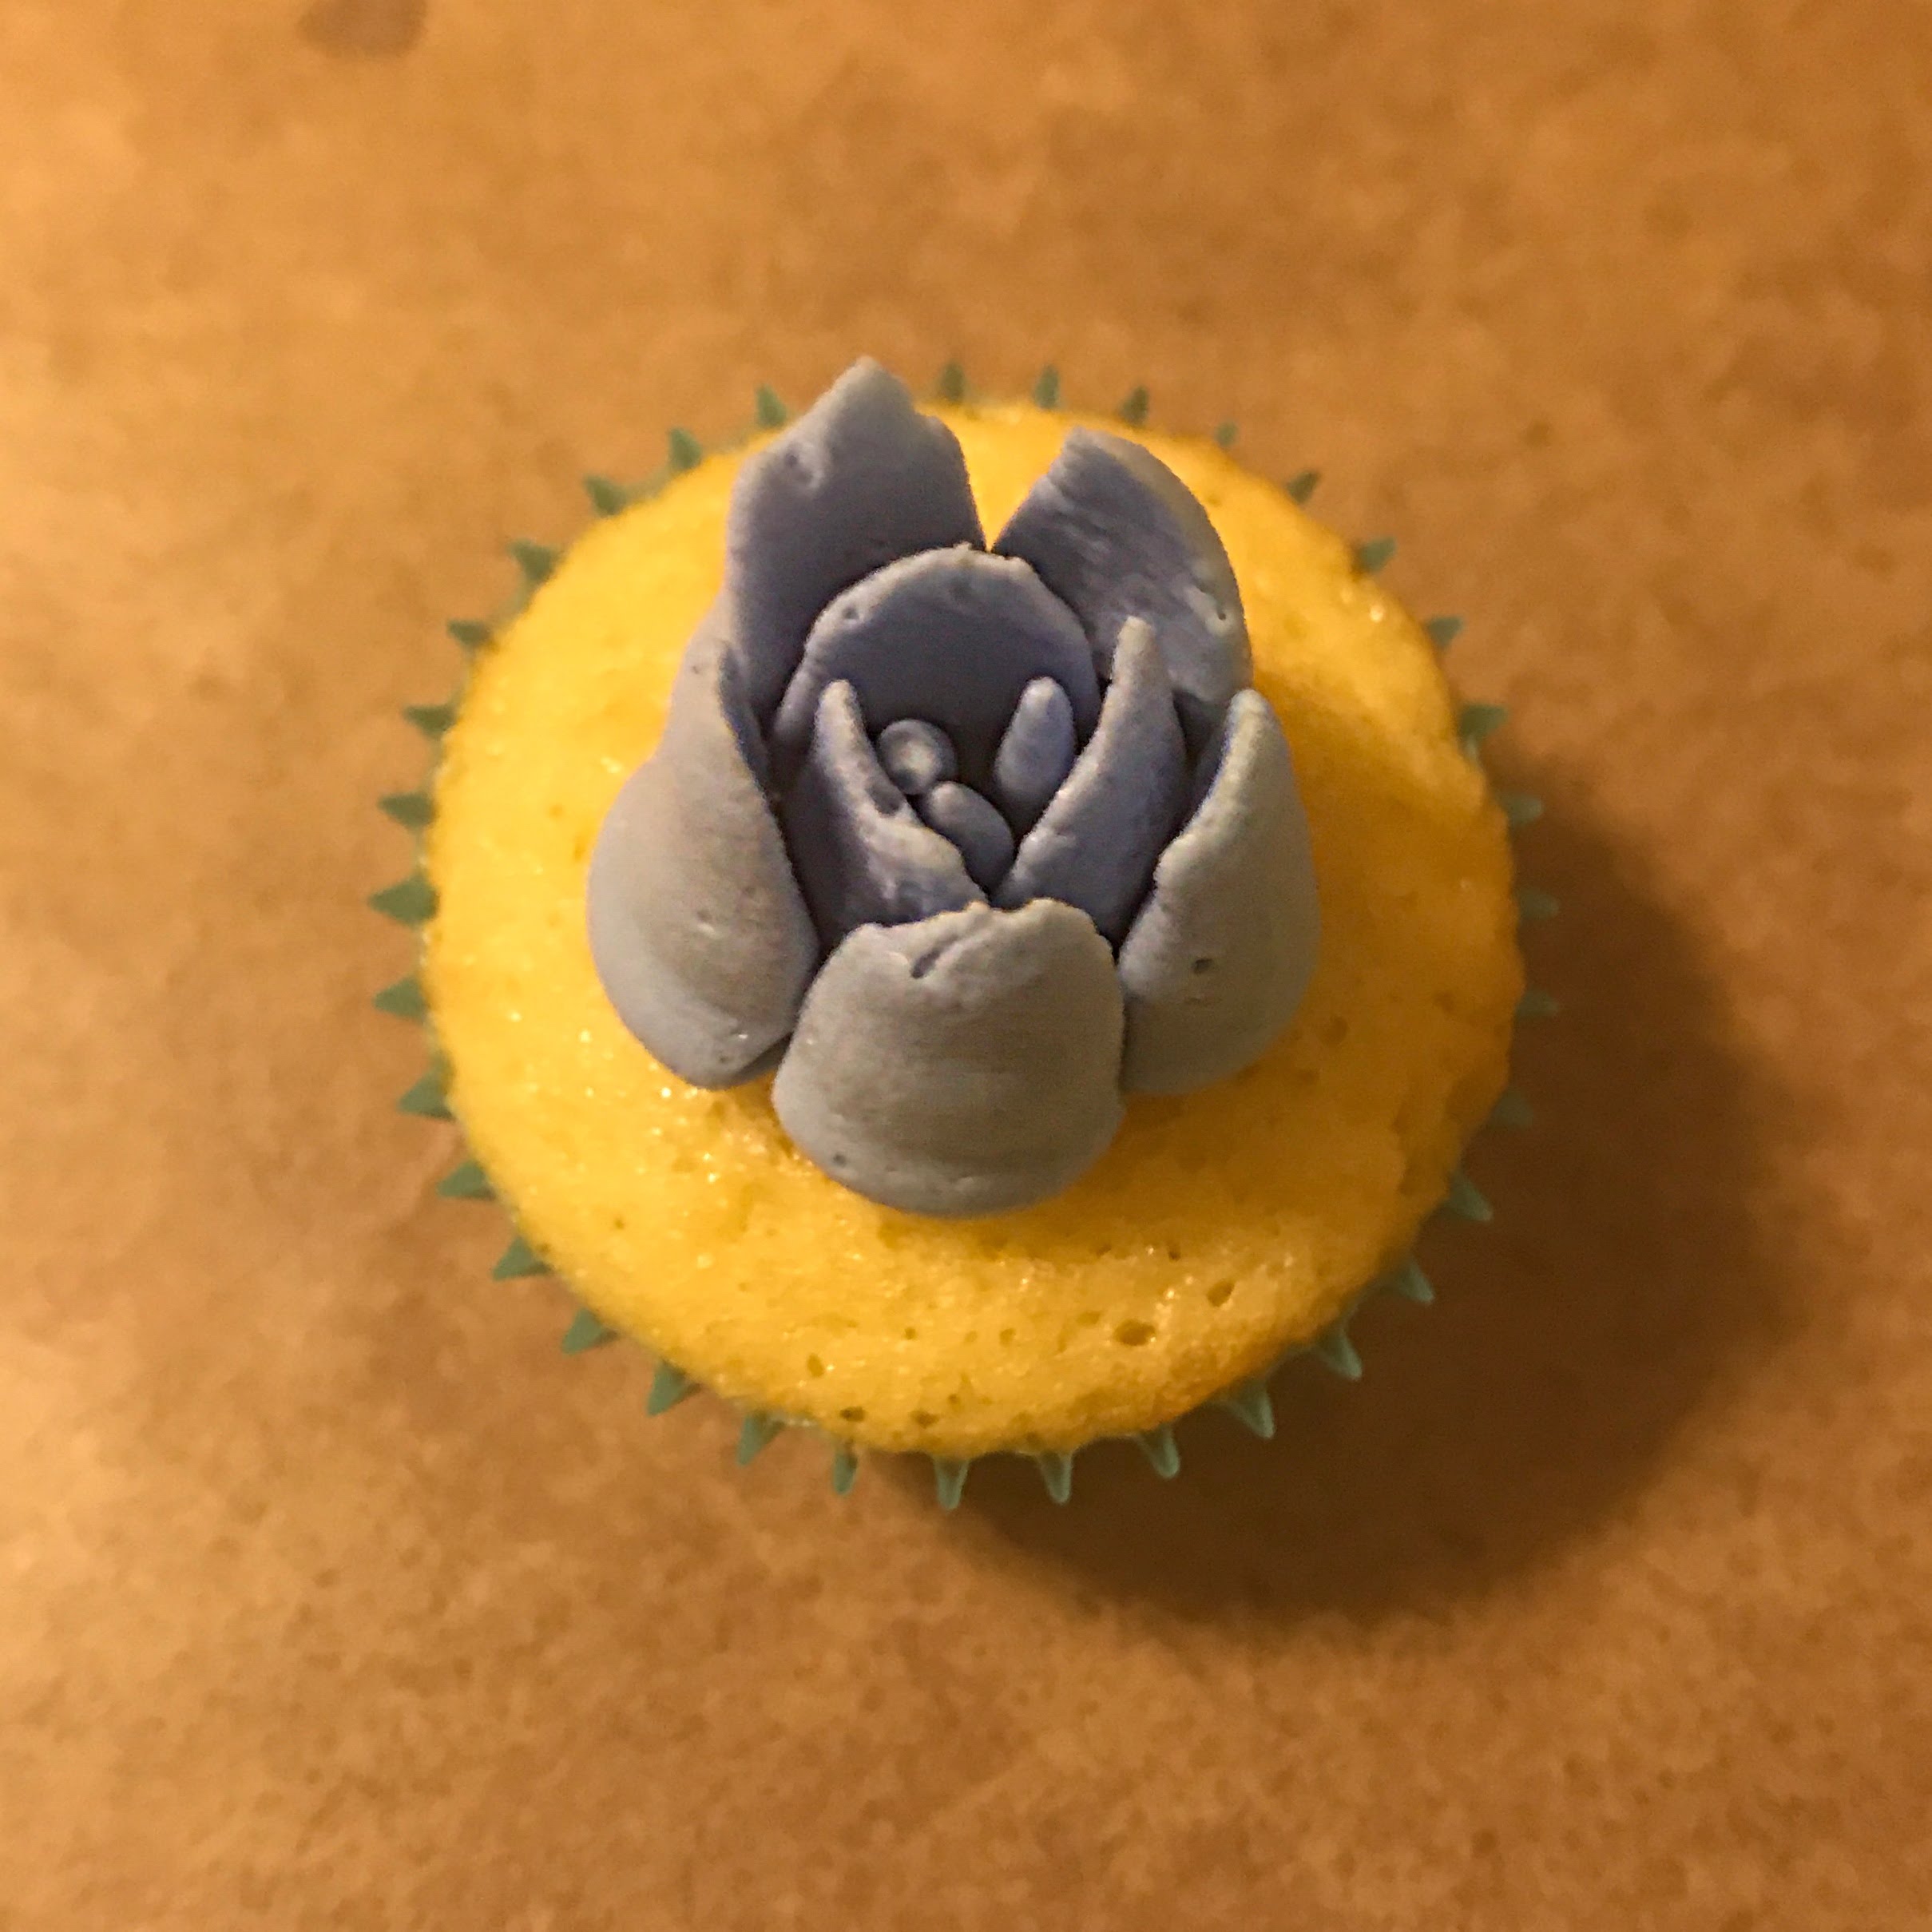
I had a hard time knowing what these would look like before we piped them. Having some wax paper that I could practice on, then scrape off was awesome. That said, the practice learning curve is very fast. It only took one or two tries to get perfect flowers with almost every tip. There were some exceptions...the more rose-y looking tips were much more difficult and needed some more practice to look professional.

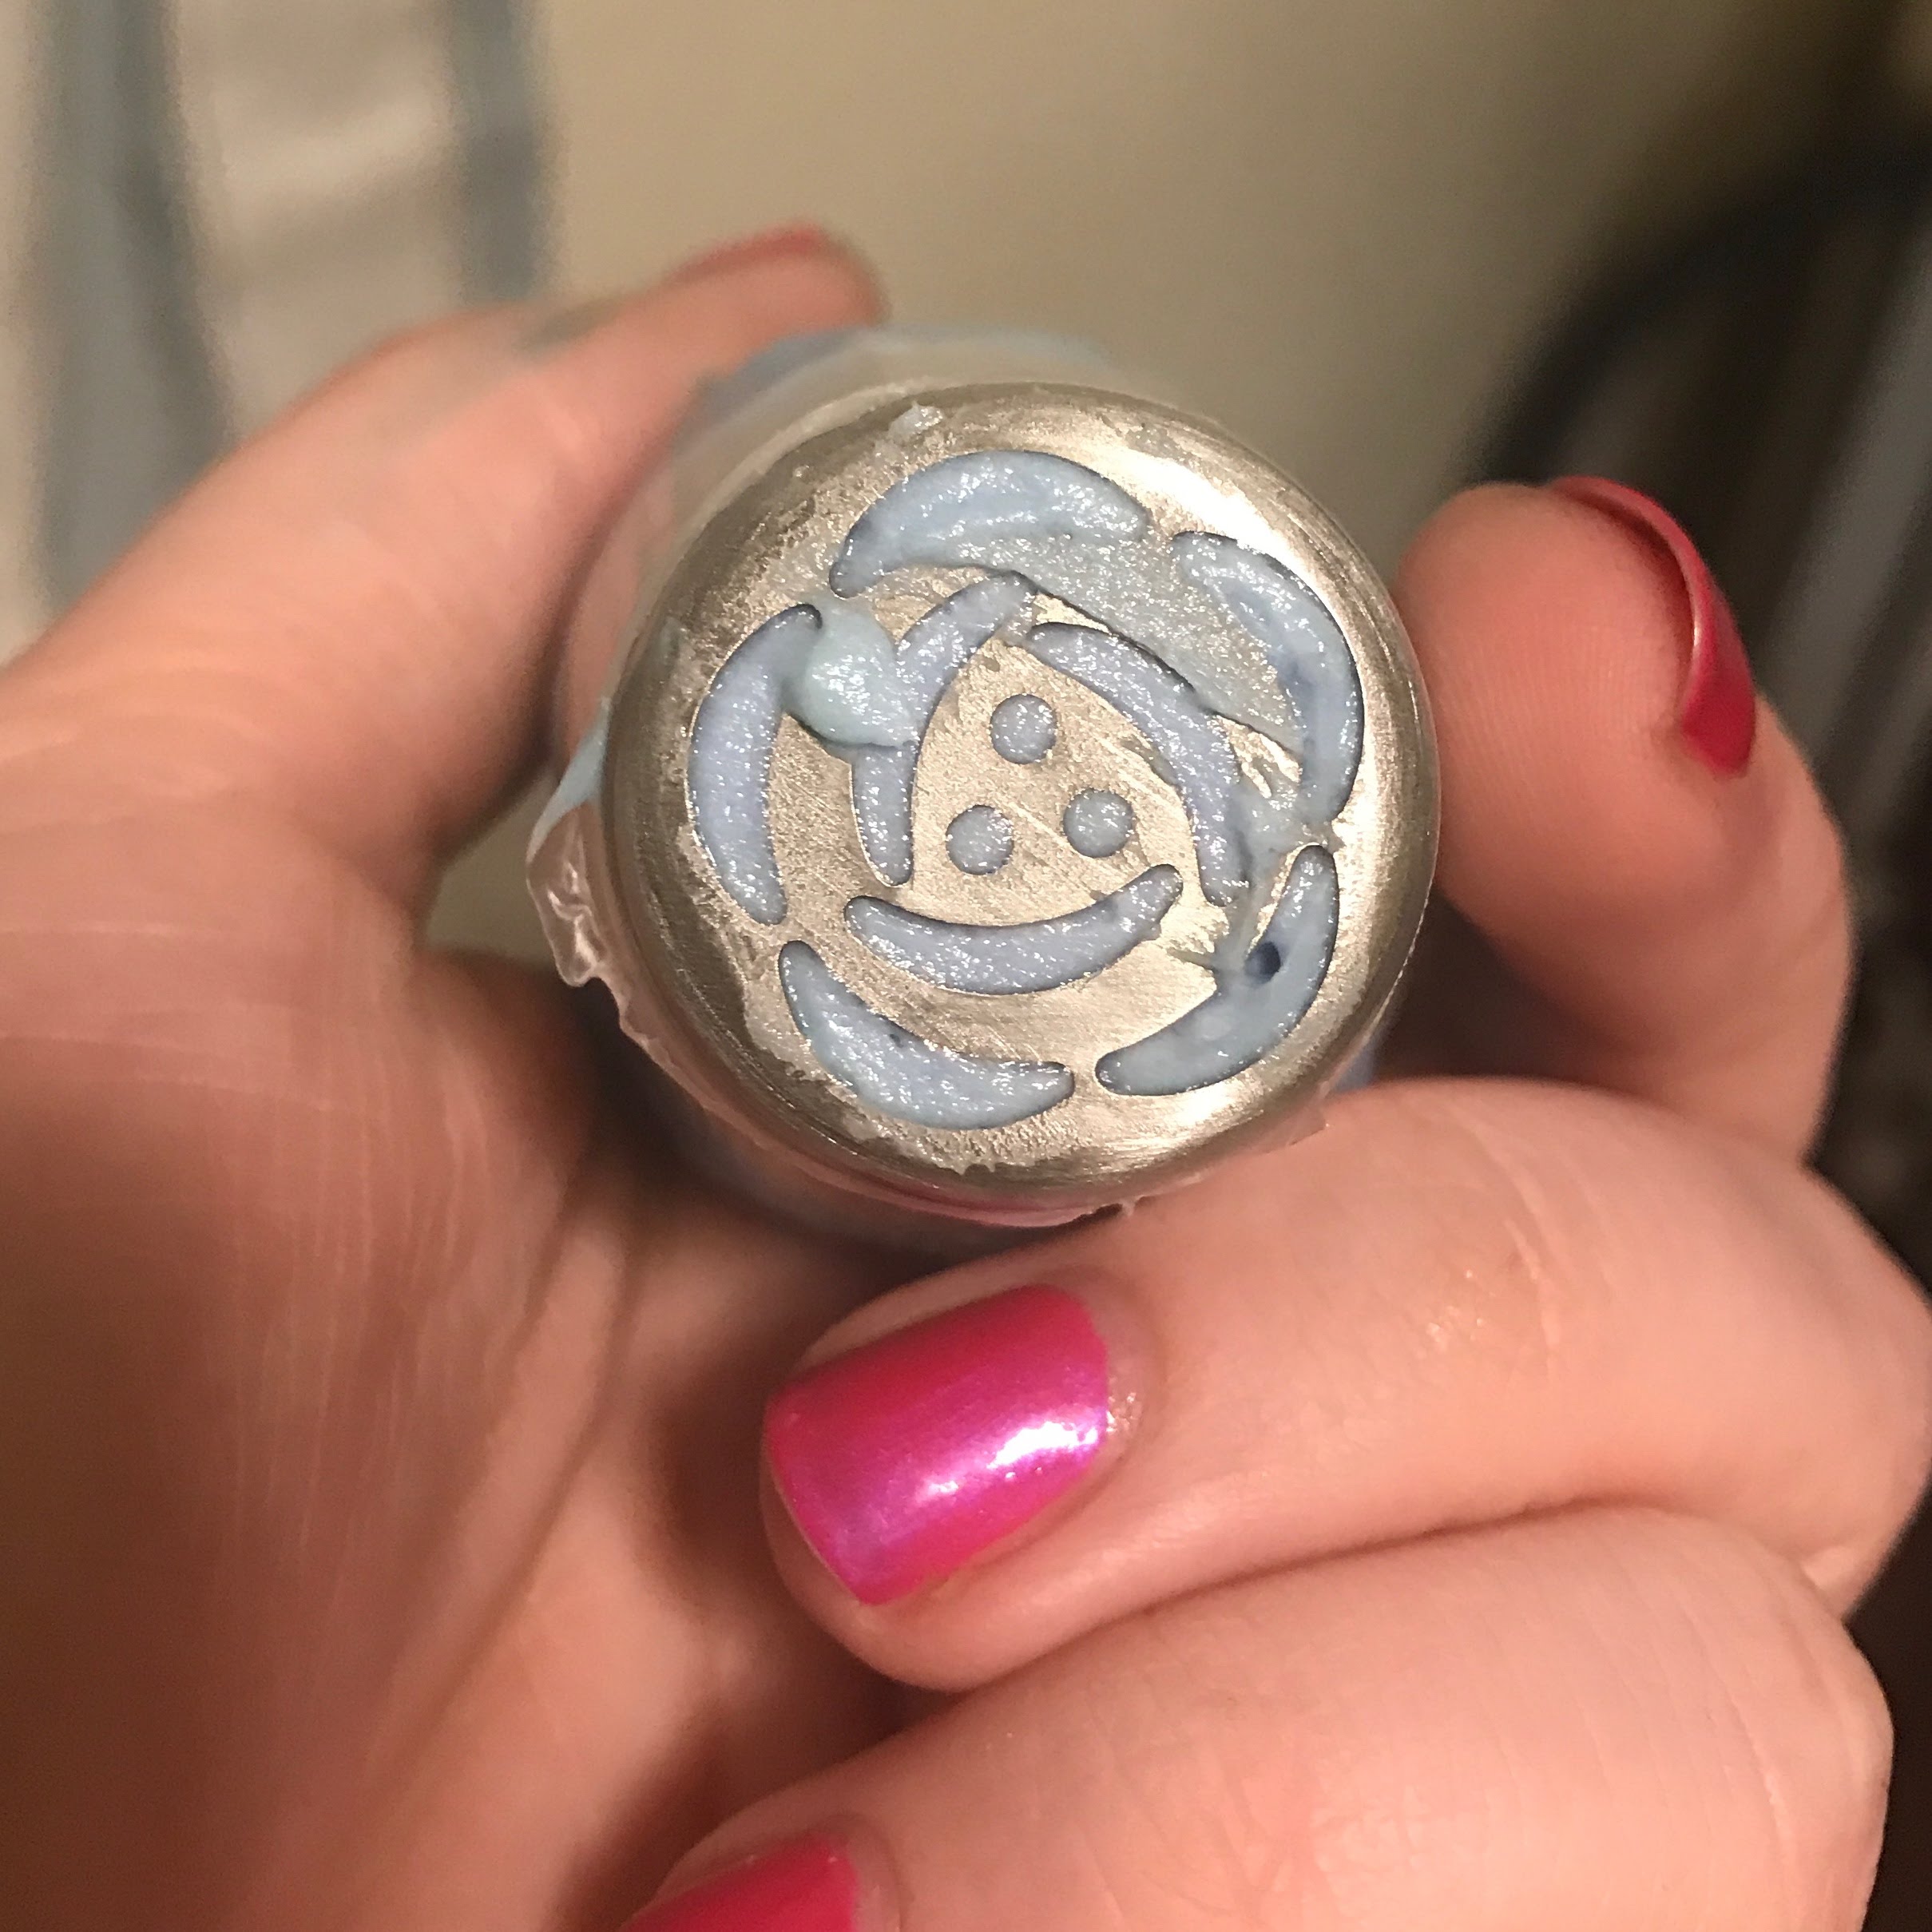
Do know which tips are best to pipe long or short.
The easy way...if it had swirls, it should be piped shorter. If it had dots, it should be piped taller. Some tips look better piped at higher or shorter lengths, so experiment accordingly.

Don't be afraid to mix-and-match tips.
Some of the tips in the bag are designed to be just the center of flowers, or conversely, just the petals. Have fun mixing and matching these to create unique creations! It also gives you more opportunities to jazz up your flowers with contrasting colors.
Do use this with kids or people with zero experience!
Charles was hanging around with us while we were working on our cupcakes and he wanted to give it a try! Do you have kids at home, or are looking for a novel date night activity? This will totally work. He's never held a piping bag before in his life, but he managed to make flowers and leaves that were beautiful on his first few tries. These are definitely suitable for someone with no experience in cake decorating.
I really can't say too much how easy and fun these were. If you want to try these out, you can get the same kit we used at .
Let me know your best cake decorating tips!

Disclosures: MLC Distribution sent me these tips for free. They did not dictate what I was to say and did not pressure or instruct me to give a positive review. All thoughts and opinions are my own. It really was easy and a great time.