
Adobe Lightroom Mobile Basics
My flat lay photos are something that I’m really proud of. I’ve sold these photos to brands o reuse, and they are a huge driver of traffic to my blog via Instagram and Pinterest. I have another post about how to put together the perfect flat lay. It’s a little old, but the information is still good. It’s on the list for updating soon. Okay, so you laid out all of the things you’re going to photograph super beautifully. What now?
Let’s talk about that. I’m going to talk you through how I use the #1 mobile app for editing photos — Lightroom! Before we start, I have an iPhone, but the Android app is essentially the same.
Take the picture.
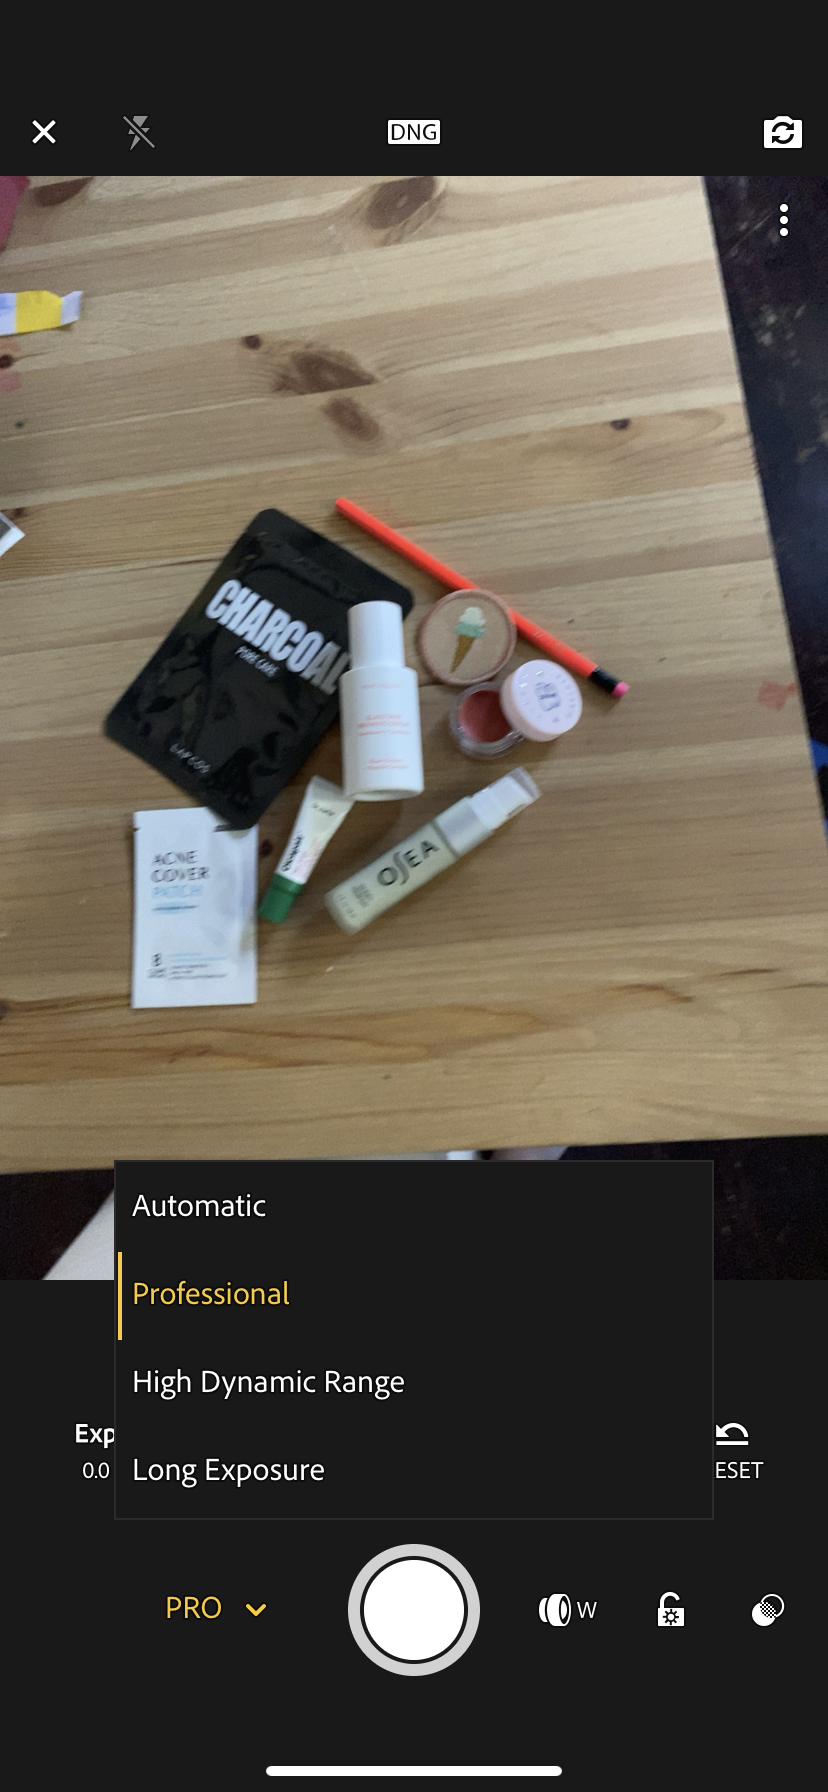
Well durr, Cait. No, wait. You want to skip this section. Don’t skip this section. A lot of the photos - including ones I have sold for real money - are shot on my iPhone. Start with the camera you have, not with dreams of needing a fancy camera. But there is a tip that I suggest is that you go ahead and download the Lightroom App, and then shoot your photos in DNG (RAW) in there. If you have never entered the world of professional photography, this means that the camera sensor records as much information as possible. This makes you able to do the really intense color editing that you can’t do on just any photo you snap with your phone. You can also play around with the settings here, adjusting the exposure length or ISO, or you can leave it on auto. Just make sure it’s in that DNG format.
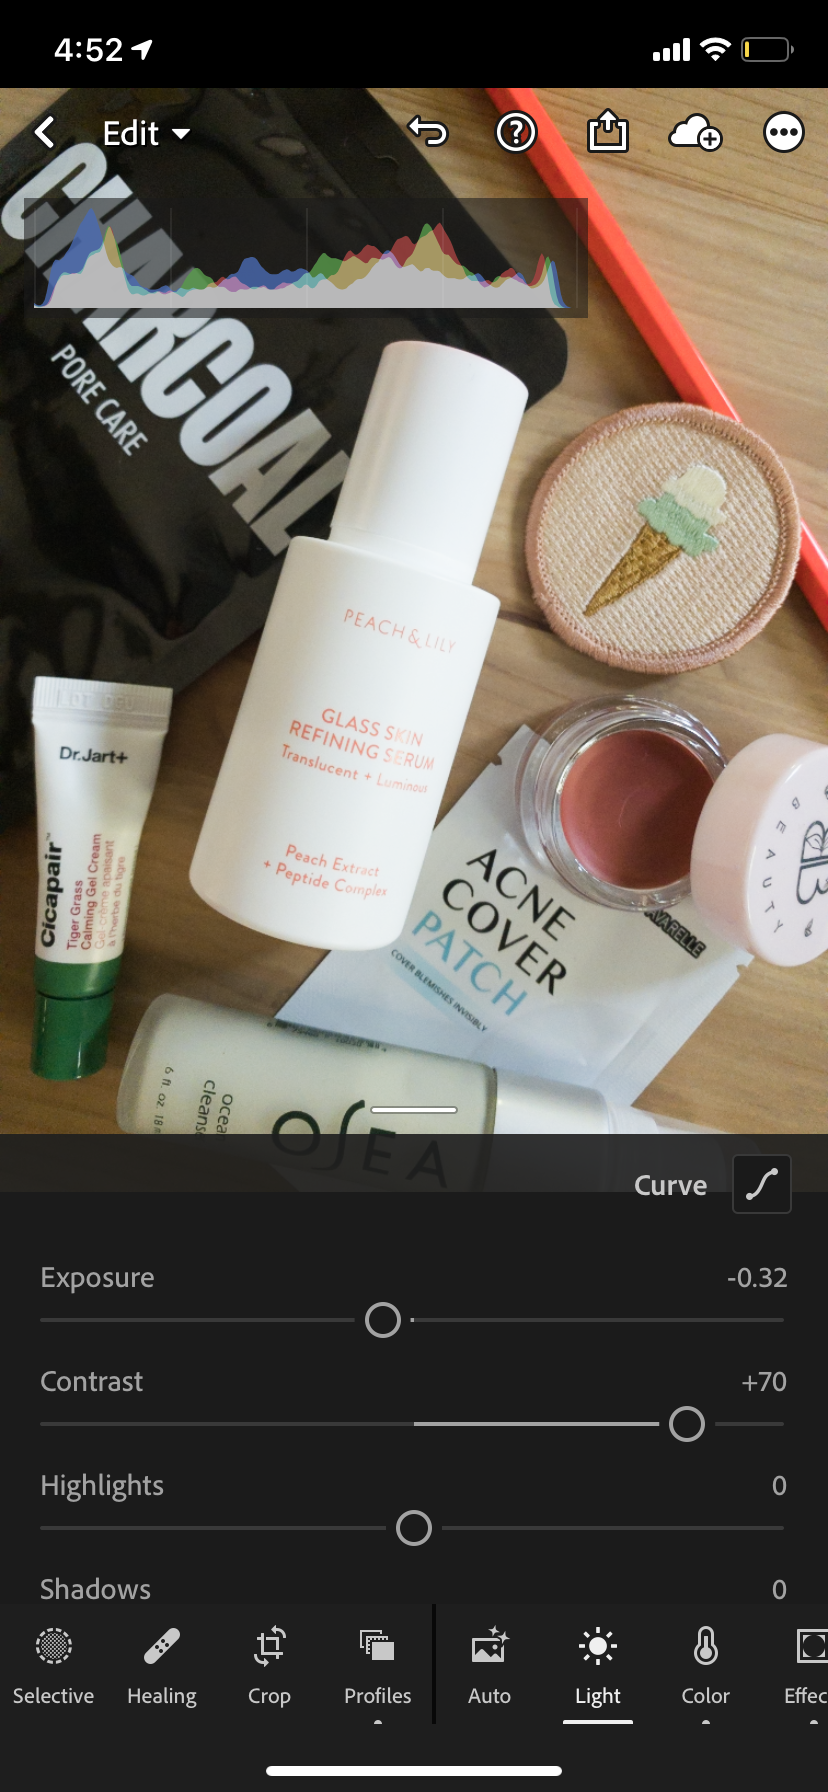
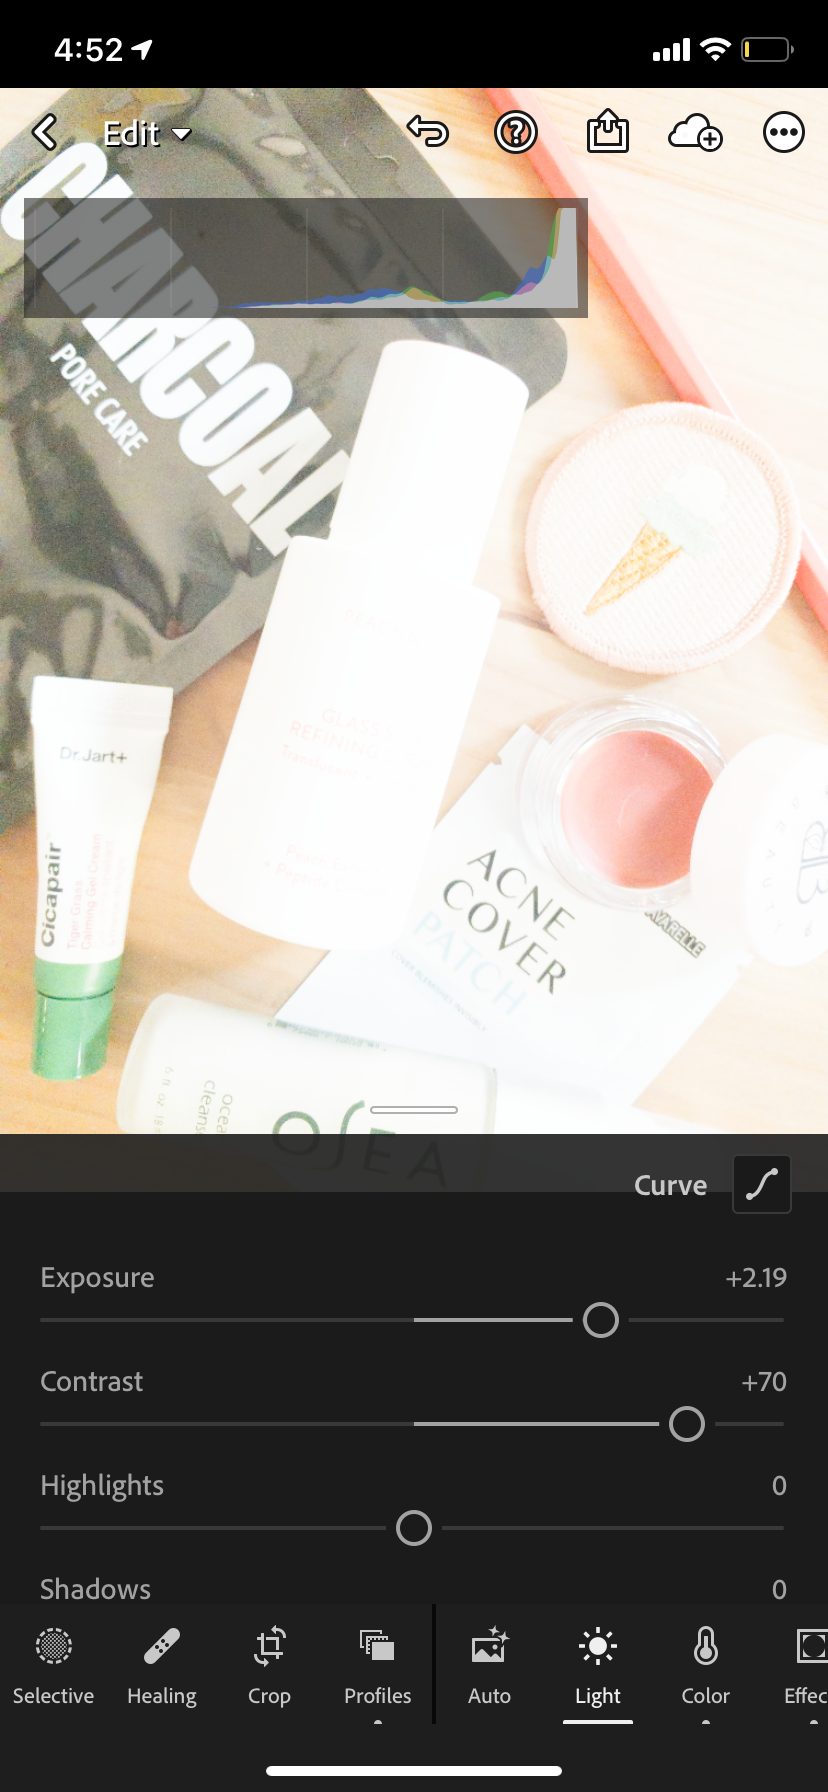
After I’ve taken a photo that I like, it’s on to the next thing. The first thing that I do is apply a preset. The preset I use for most photos of flat lays is “High Contrast and Detail”, if I’m not using a custom one. I just click that and the photo instantly looks better.
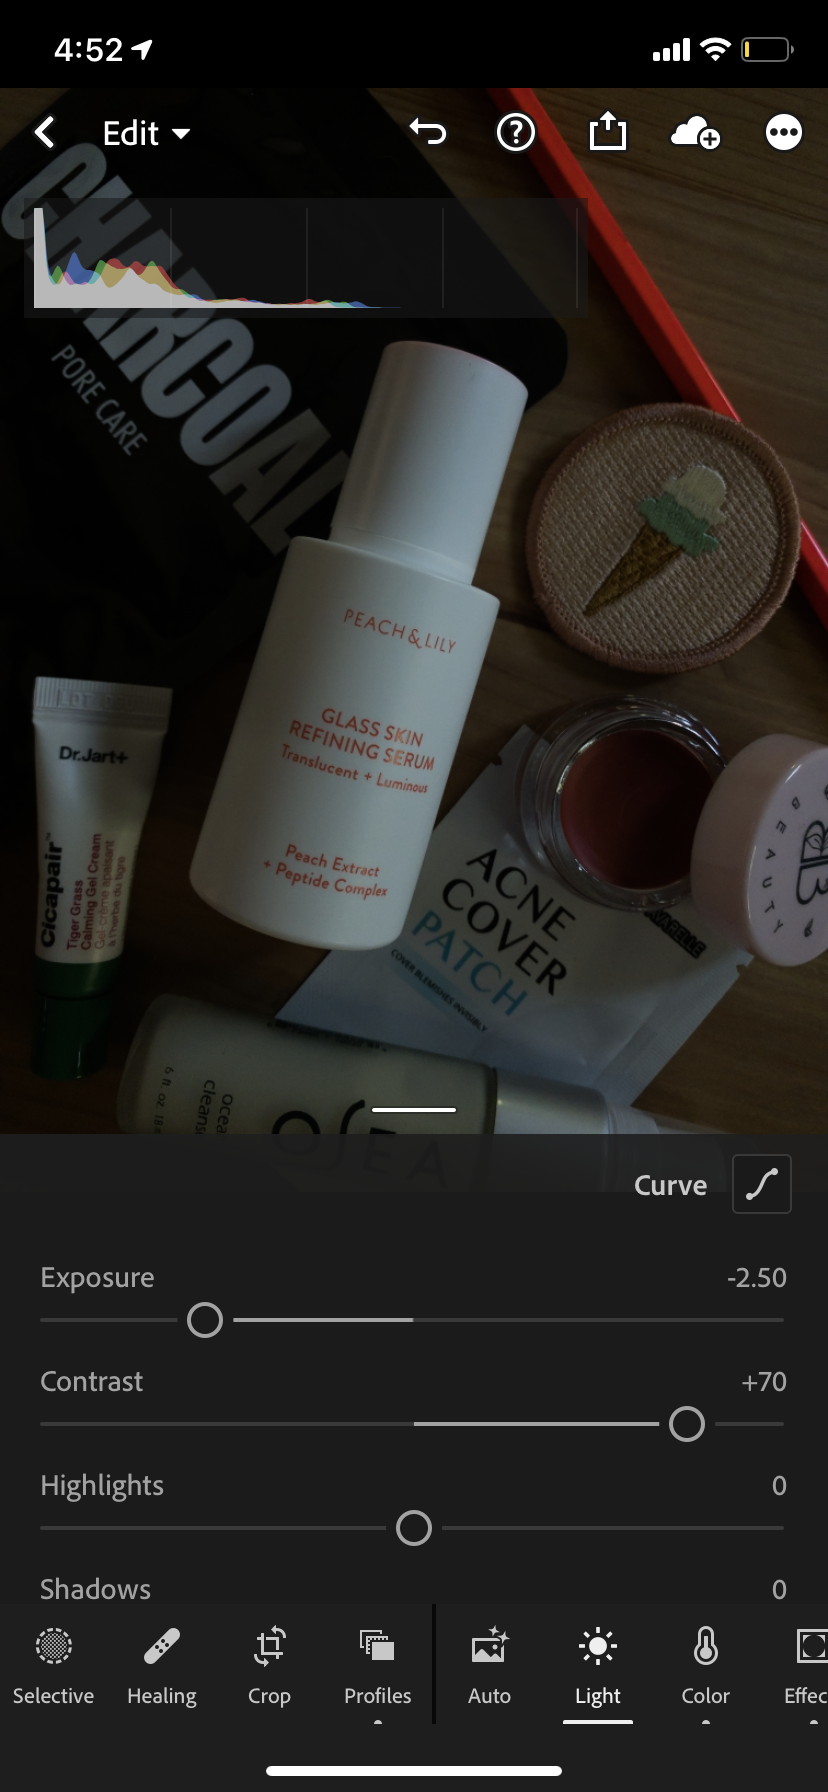
Next, I usually fiddle with the exposure — how light or dark the photo is. If you like your photos more “light and airy” or “dark and moody”, this is the spot for you.
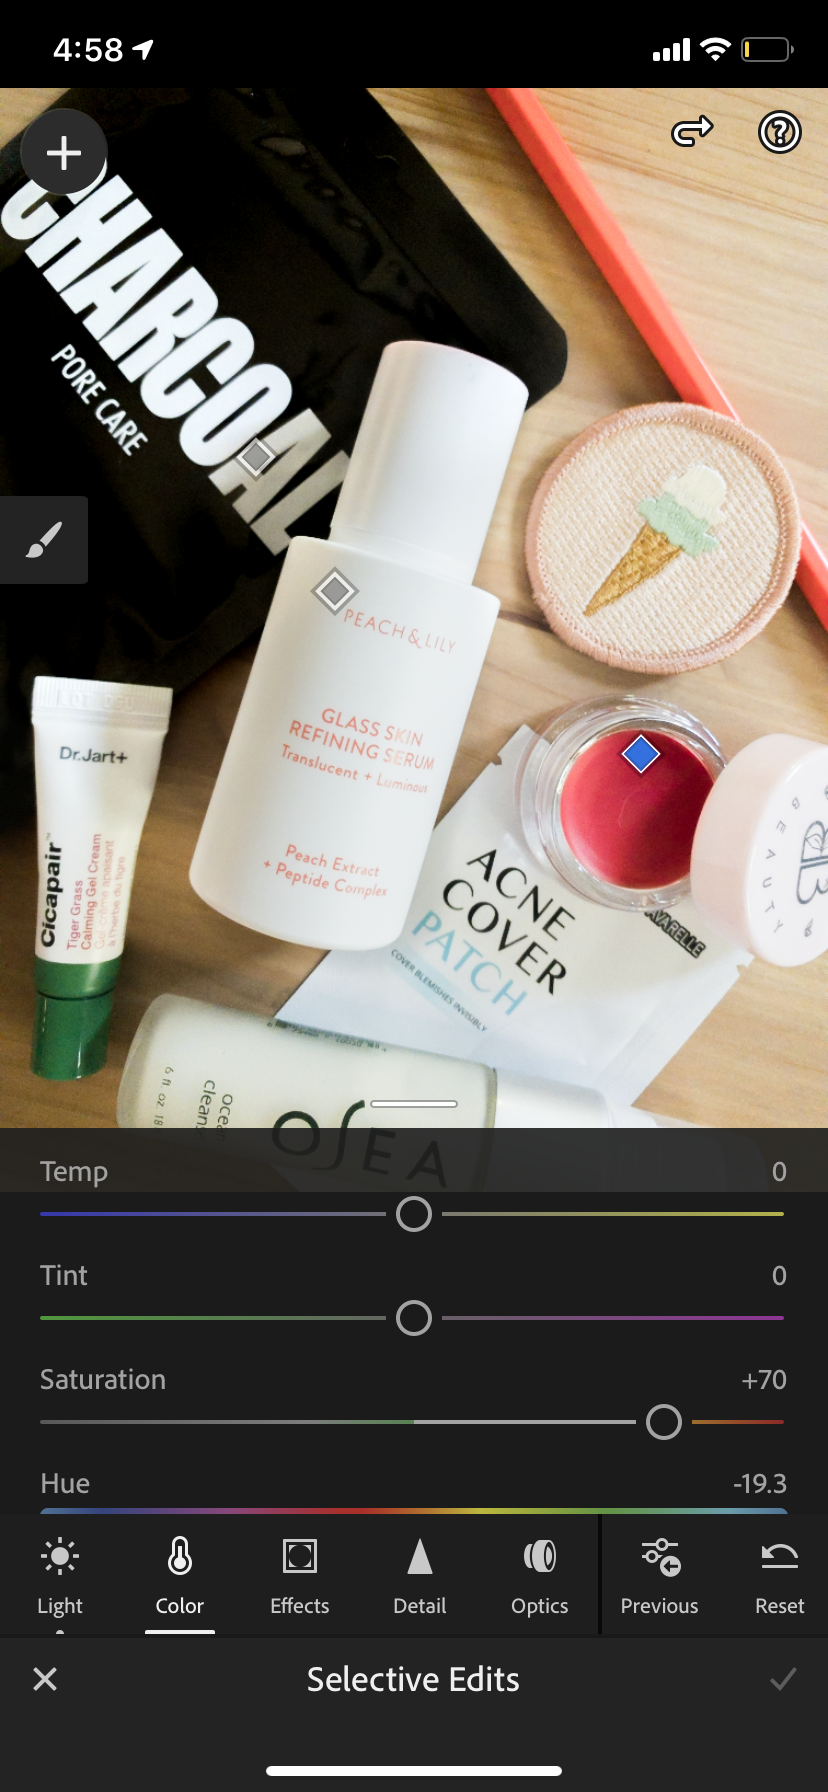
The next part is complicated. Especially with cosmetics photos, I want the colors to show up as true-to-life as possible. I use “selective editing”. Using this tool, you can paint a specific area to then edit. I used this to edit the coloring on the pot of lip gloss and also to eliminate the glare on the packaging of the charcoal face mask. This helps fix those few spots that need more editing when you don’t want to turn up the hot pink or red on the whole photo.

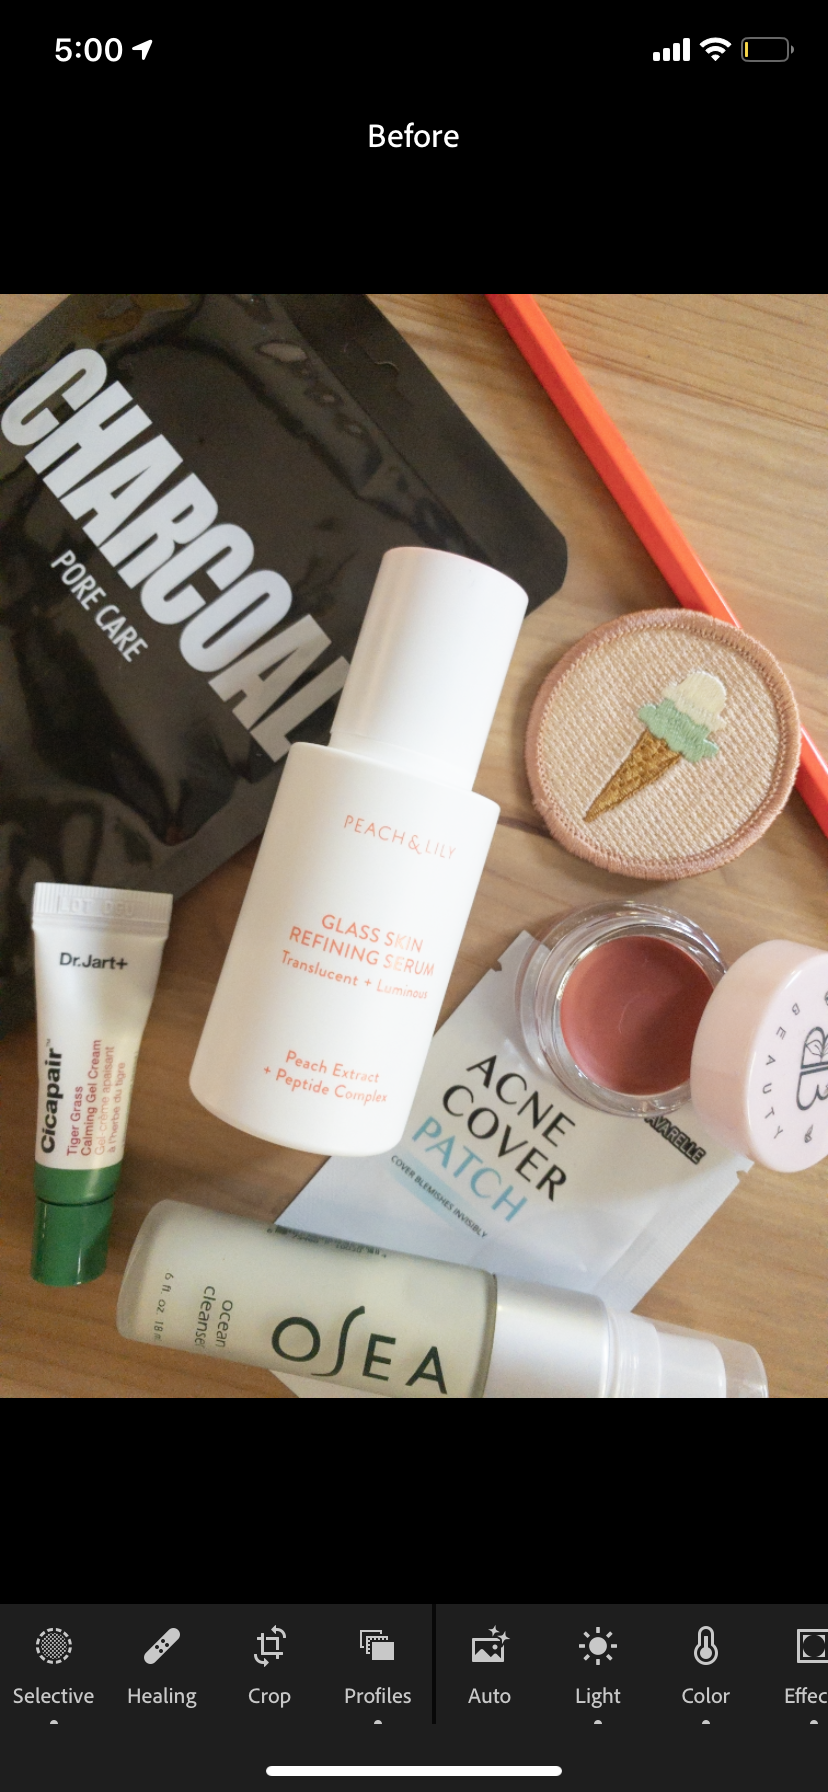
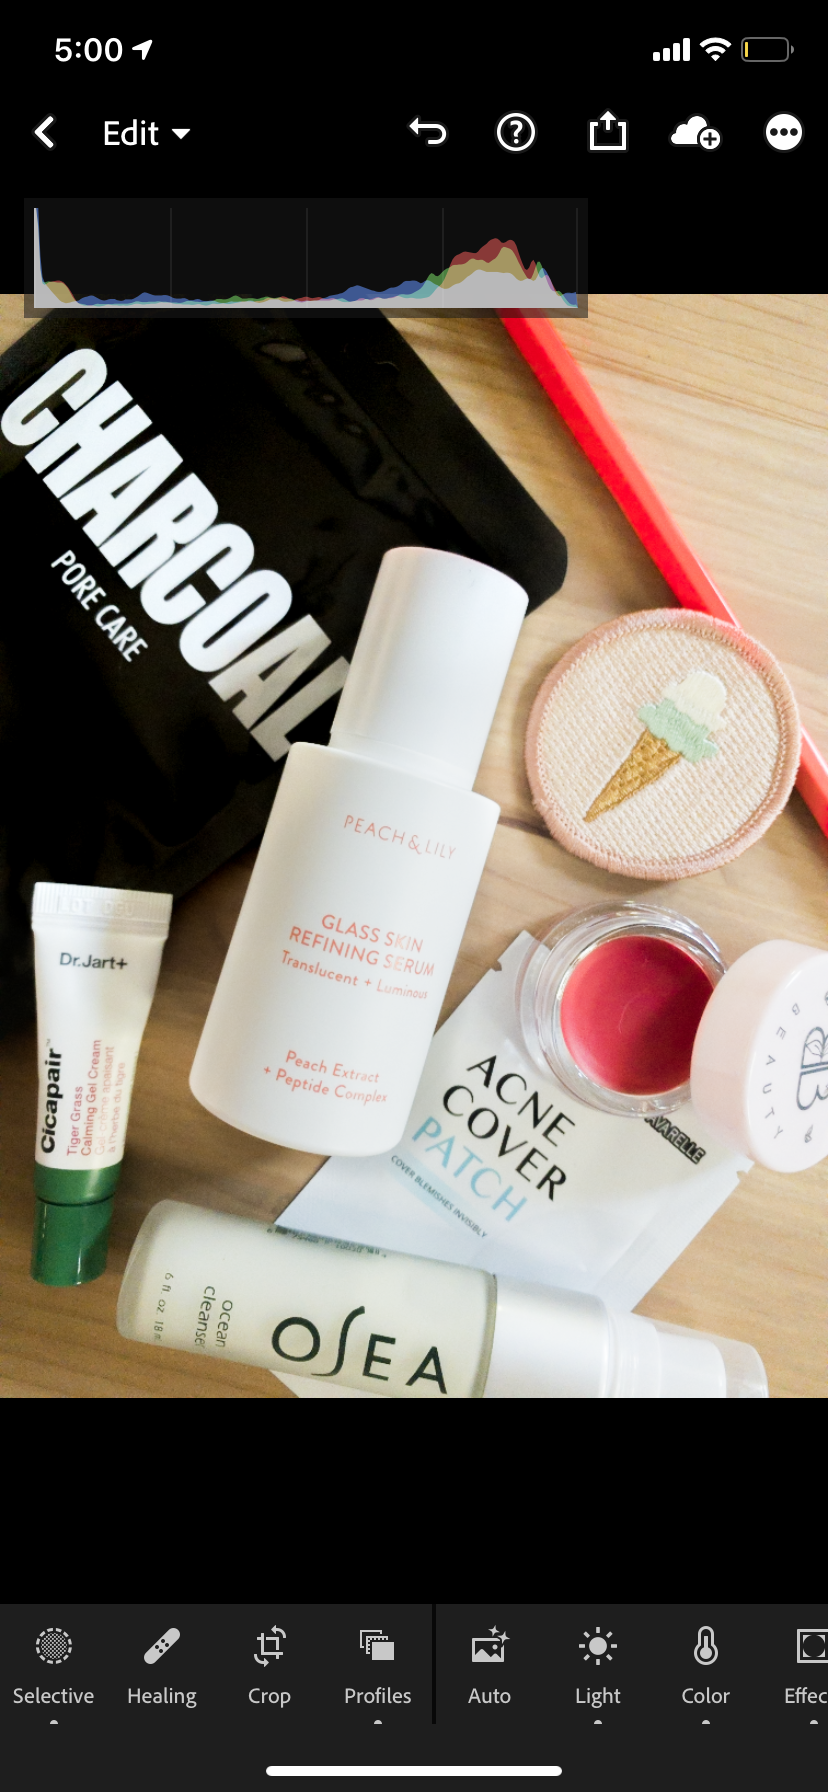
The last step is just to export the photo to your camera roll and to take a look at the before and after!


All of this seems kind of in-depth, but after a little practice and learning what I like my photos to look like, I have this down to only about five minutes a photo. I hope that this helped you get the photos of your dreams!